Have you ever wondered if your online documents are secure? Even if you save them in your Google Drive, adding extra protection to those with more sensitive data is always a good idea. To address this issue, we recently spoke about how you can lock data in Google Sheets by giving or restricting editing permissions to other users. However, you may also deal with sensitive or confidential information that you wish to restrict from users outside your team. With the help of the third-party tool Skipser, you can password-protect Google Sheets to keep your documents extra safe.
This post will first show you how to secure data on your Google Sheet by setting up a password; it will then describe the necessary steps to encrypt and decrypt the data. Lastly, it will stress the importance of updating your password to ensure that you fully control the data shared on your Google Drive.
How to Password-Protect a Google Sheet?
This article will initially walk you through the process of securing your data, showing you how to password-protect Google Sheets by implementing a password. It will then detail the essential steps for encrypting and decrypting the data. Lastly, it will stress the significance of regularly updating your password to ensure complete control over the shared data on your Google Drive.
Google Sheets lacks any functionality to safeguard or encrypt data within the spreadsheet itself, with the only available security measure being your Google account email ID and password. Recognizing the risks associated with relying solely on this method, we have discovered a solution that enables you to establish a secure and encrypted system for yourself and your business.
Let’s get started:
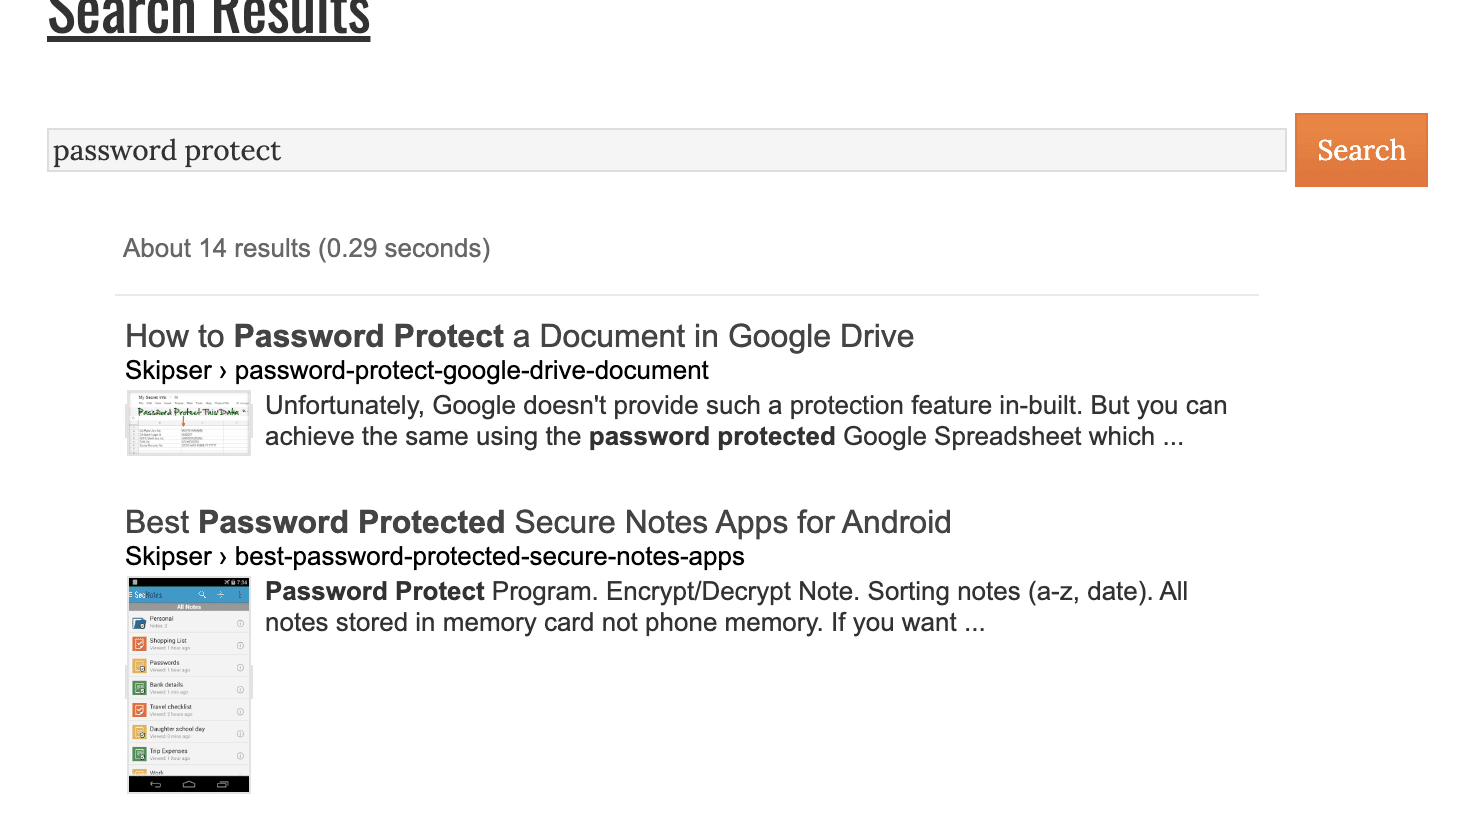
- Go to Skipser.com and execute a site search for “password protect”.
- Scroll down and find the “How to Password Protect” article.
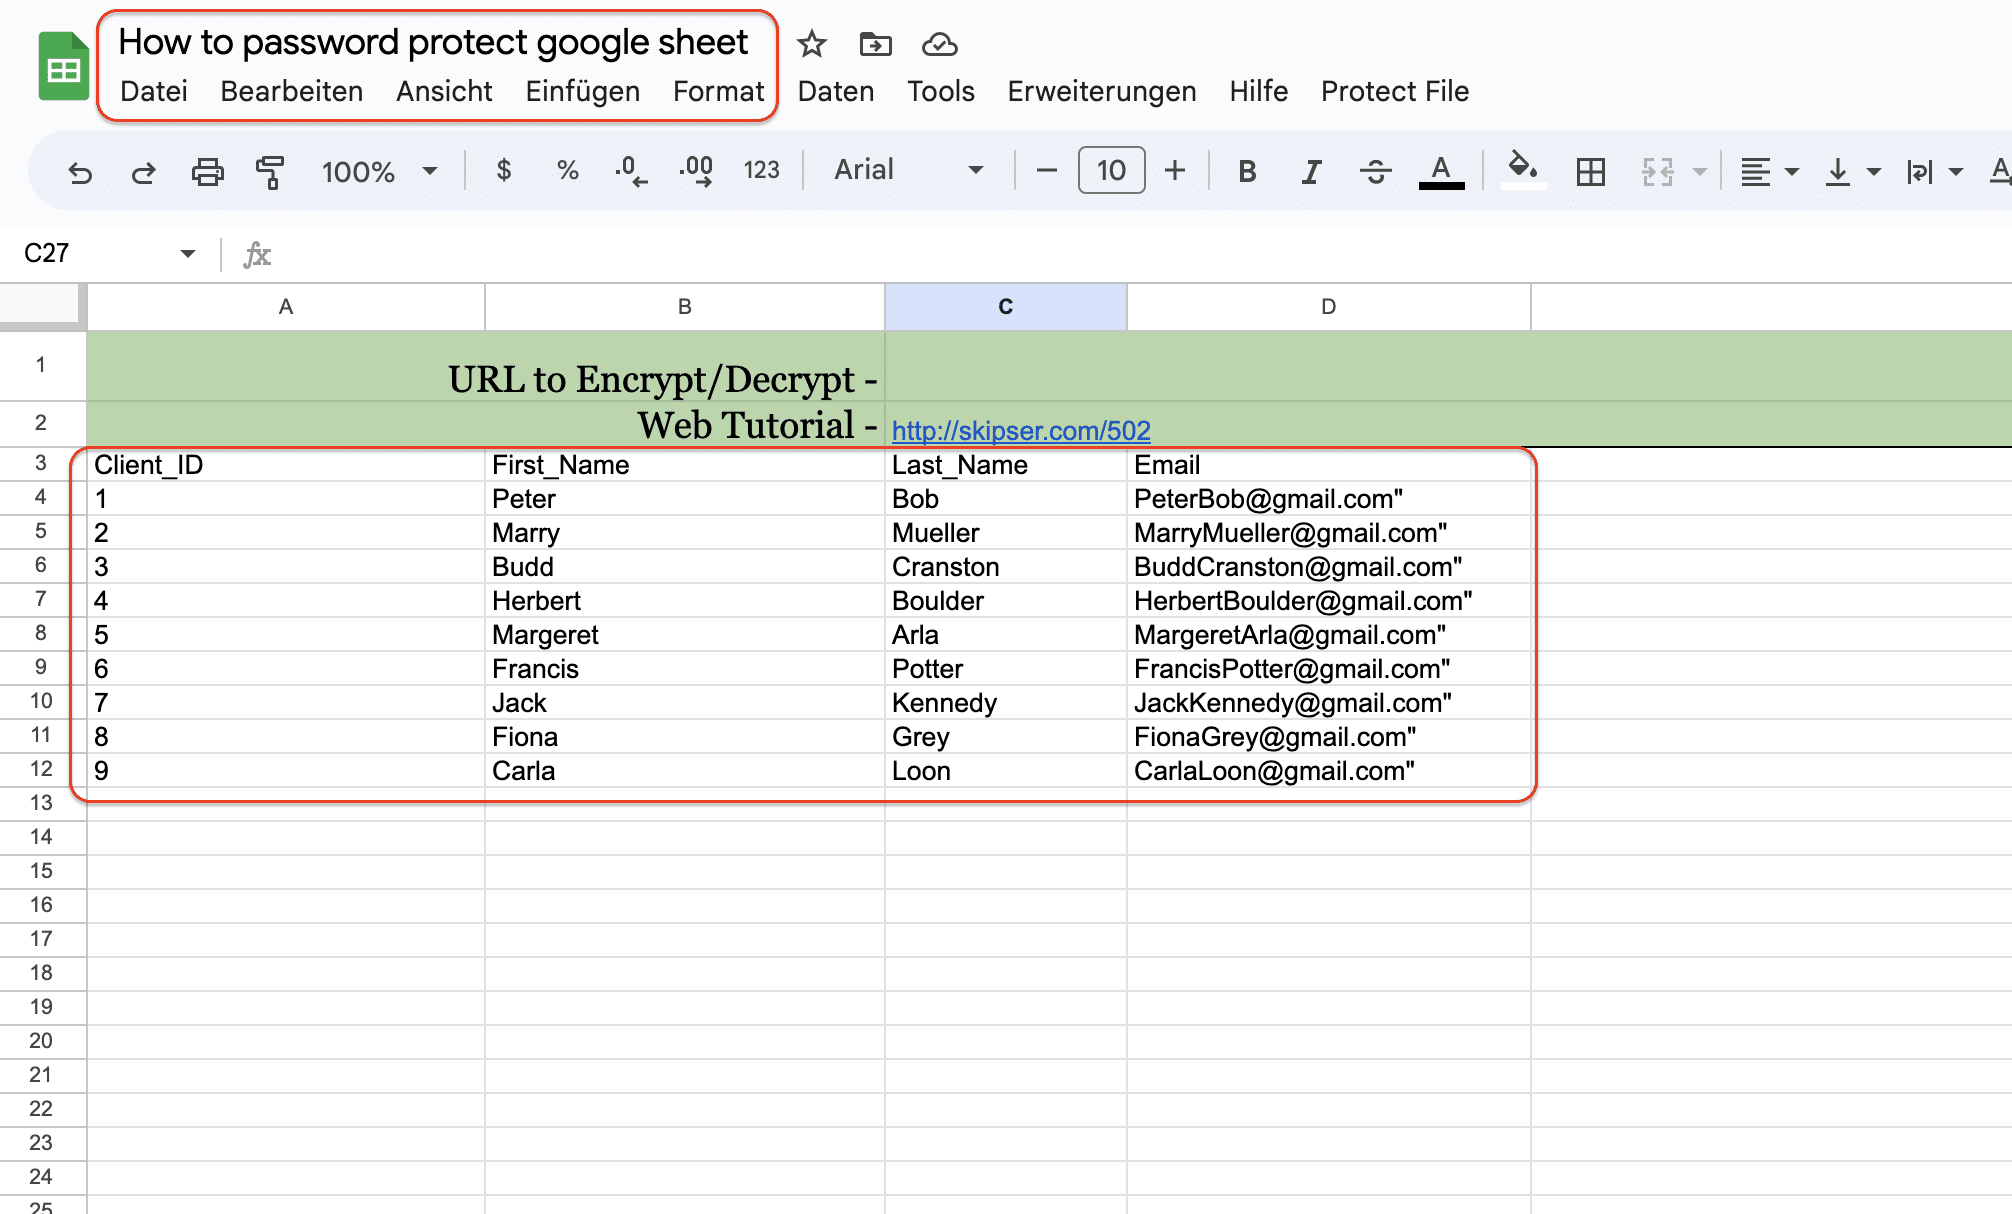
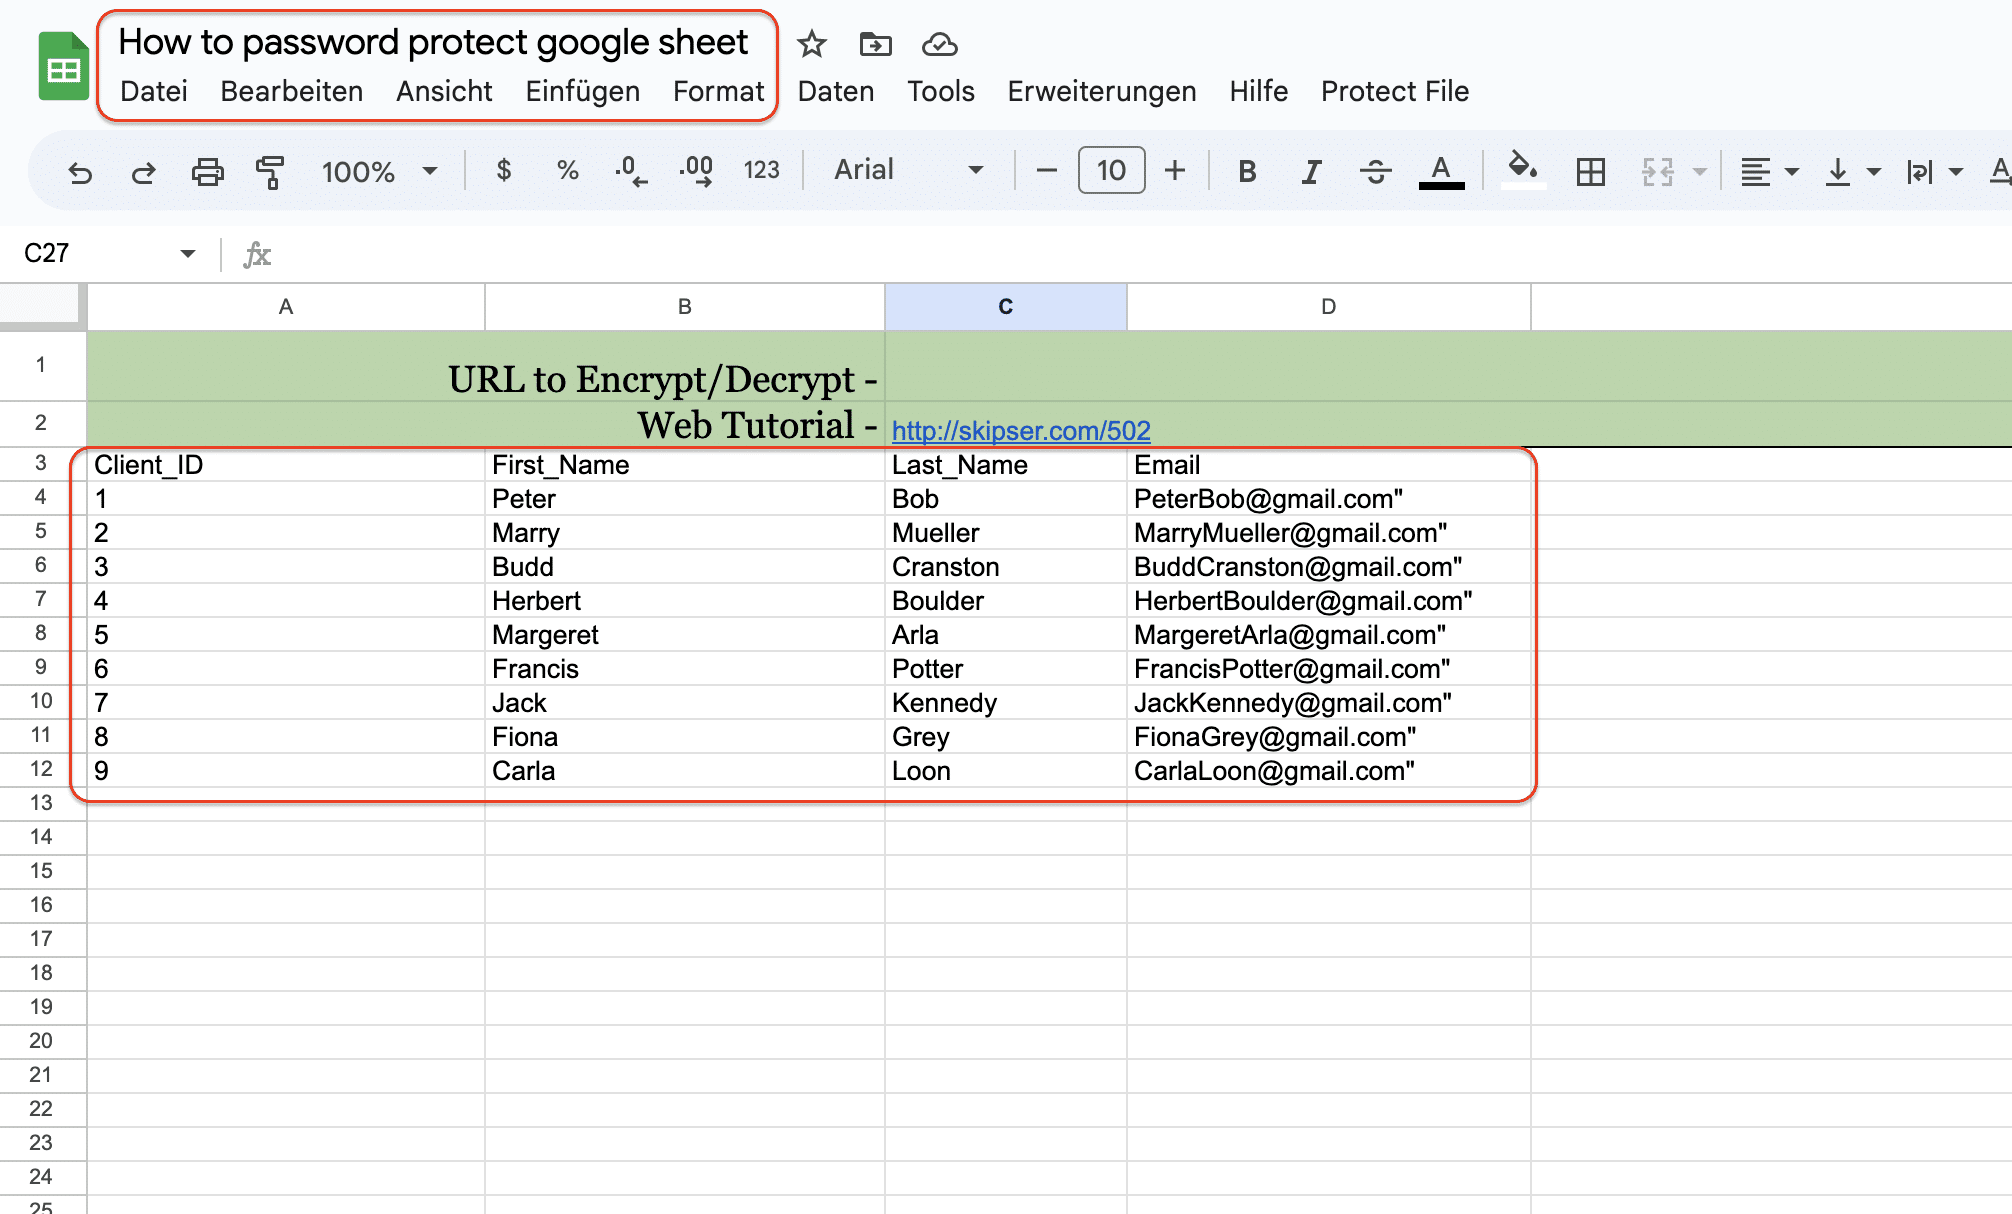
- Alternatively, you have the option to copy the file directly to your Google Drive. Once saved, you can rename it according to your preference and input the data you wish to protect or apply a password to. It’s important to note that the data should be entered starting from the third row onwards.
*If you look at the image displayed above, you’ll notice that the Protect File tab is already visible, allowing you to bypass the subsequent instructions and proceed to the next section on encrypting your data in a Google Sheet. However, if you don’t see the Protect File tab, continue reading for further guidance.
- To access the script editor, go to the “Tools” tab and select “Script Editor.” This action will open a new window or tab containing a script.
- Within the newly opened window, choose “File,” followed by “Manage Versions,” and then select “Save a new version.” You can leave all the fields blank, and a new row will be created for version 1. Simply click on “OK” to proceed.
- Next, click on “Publish” and then select “Deploy as web app.” Finally, click on the “Deploy” button to proceed.
- After clicking on the “Deploy” button, a confirmation message should appear, indicating that the application has been successfully deployed as a web app.
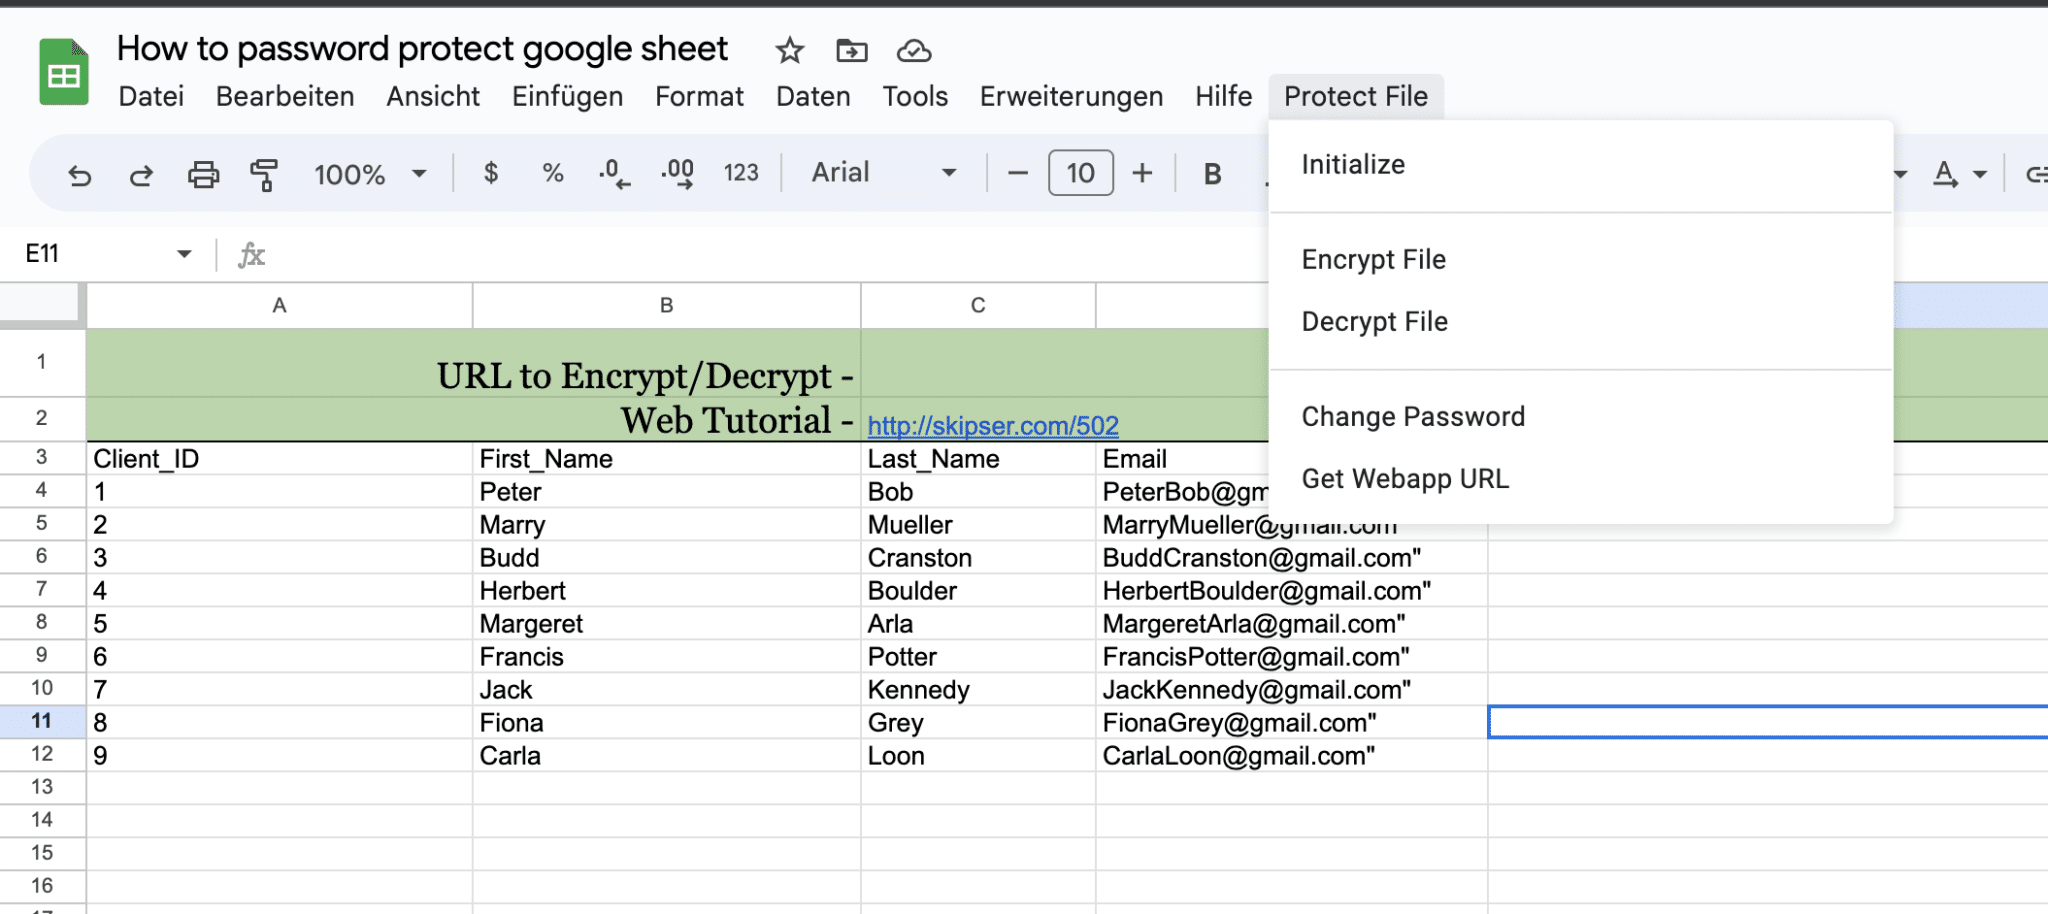
- Once the deployment process is complete, you will now be able to see a new tab labeled “Protect File” in your Google Sheet. Navigate to this tab and click on the “Initialize” button to proceed.
- To grant permission for the attached script to run, click on the “Continue” button. This will authorize the necessary permissions for the script to execute.
Congratulations! Your Google Sheet is now set up to store data securely and safely. This one-time procedure ensures that you don’t have to worry about it again in the future. Just remember to keep the first two rows of the sheet intact to maintain the proper functioning of the setup.
How to Encrypt Your Data in Google Sheets?
Now, to password-protect Google Sheets, all you have to do is:
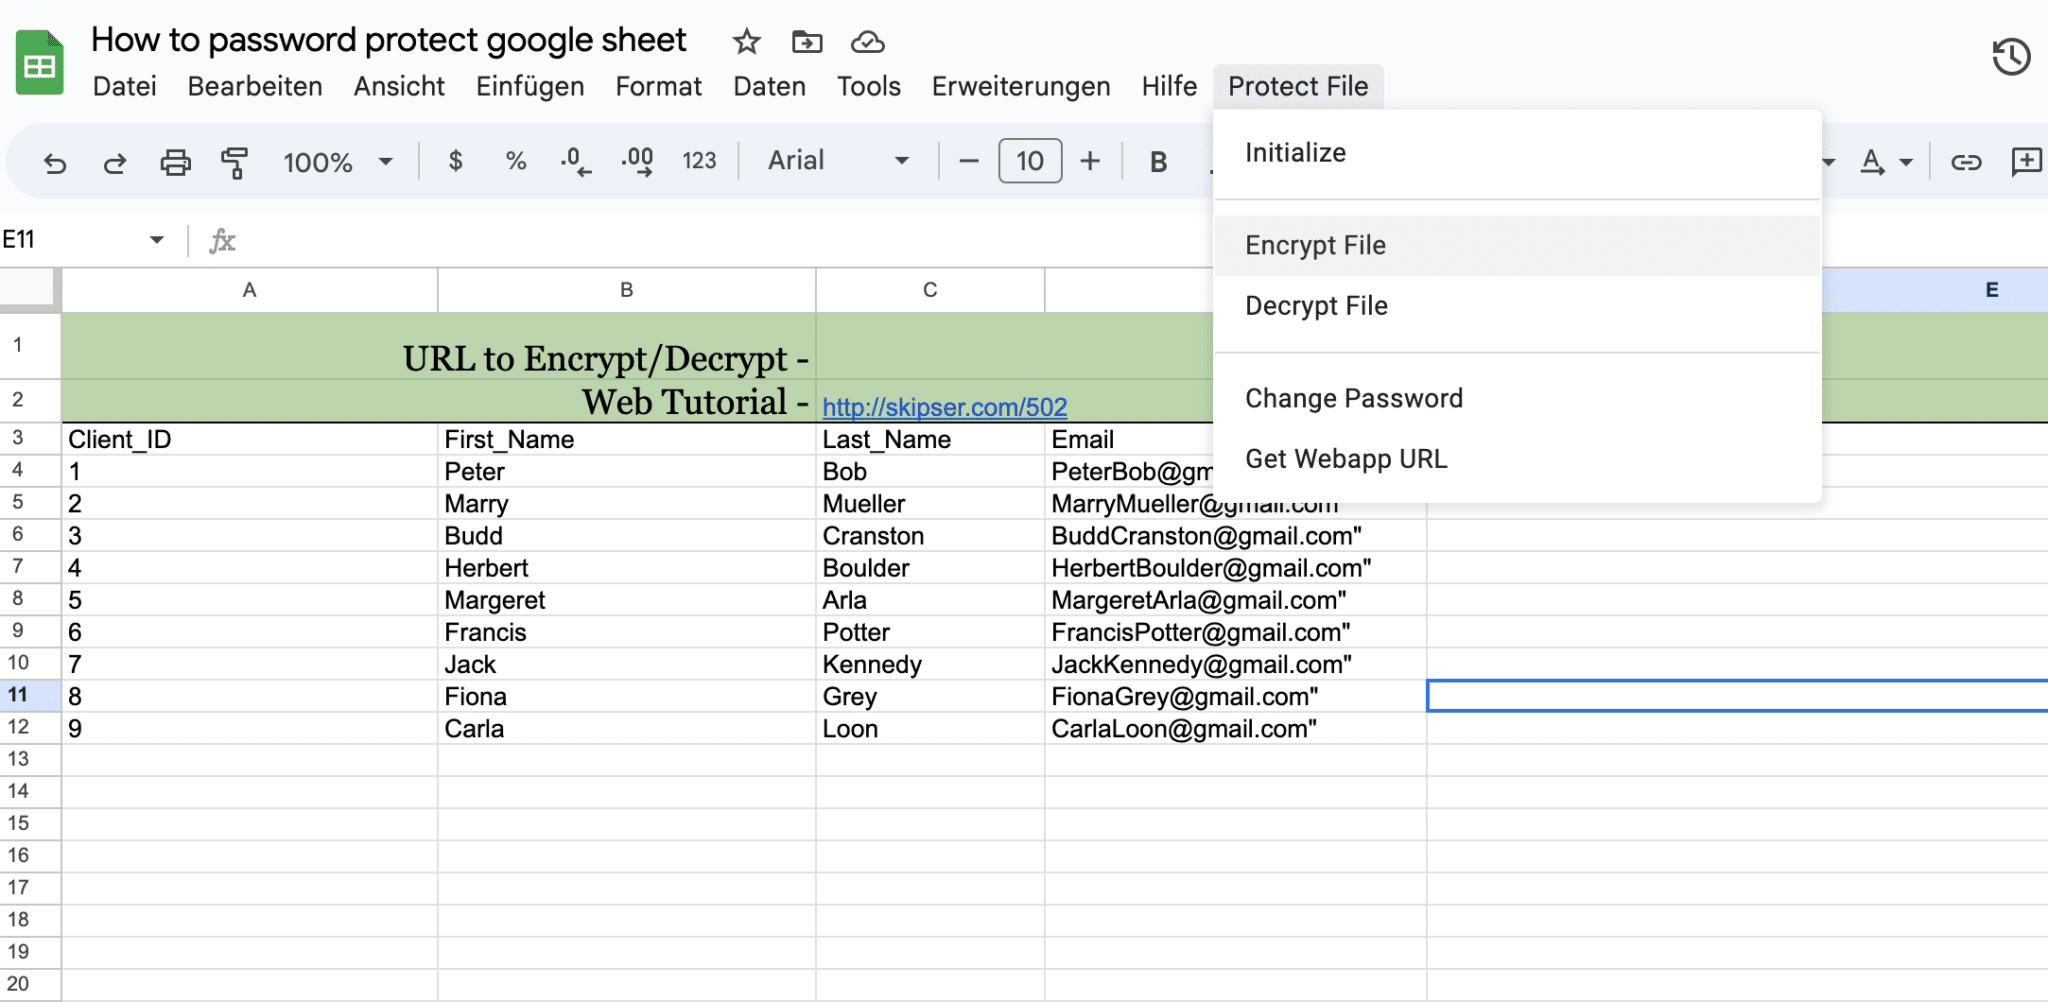
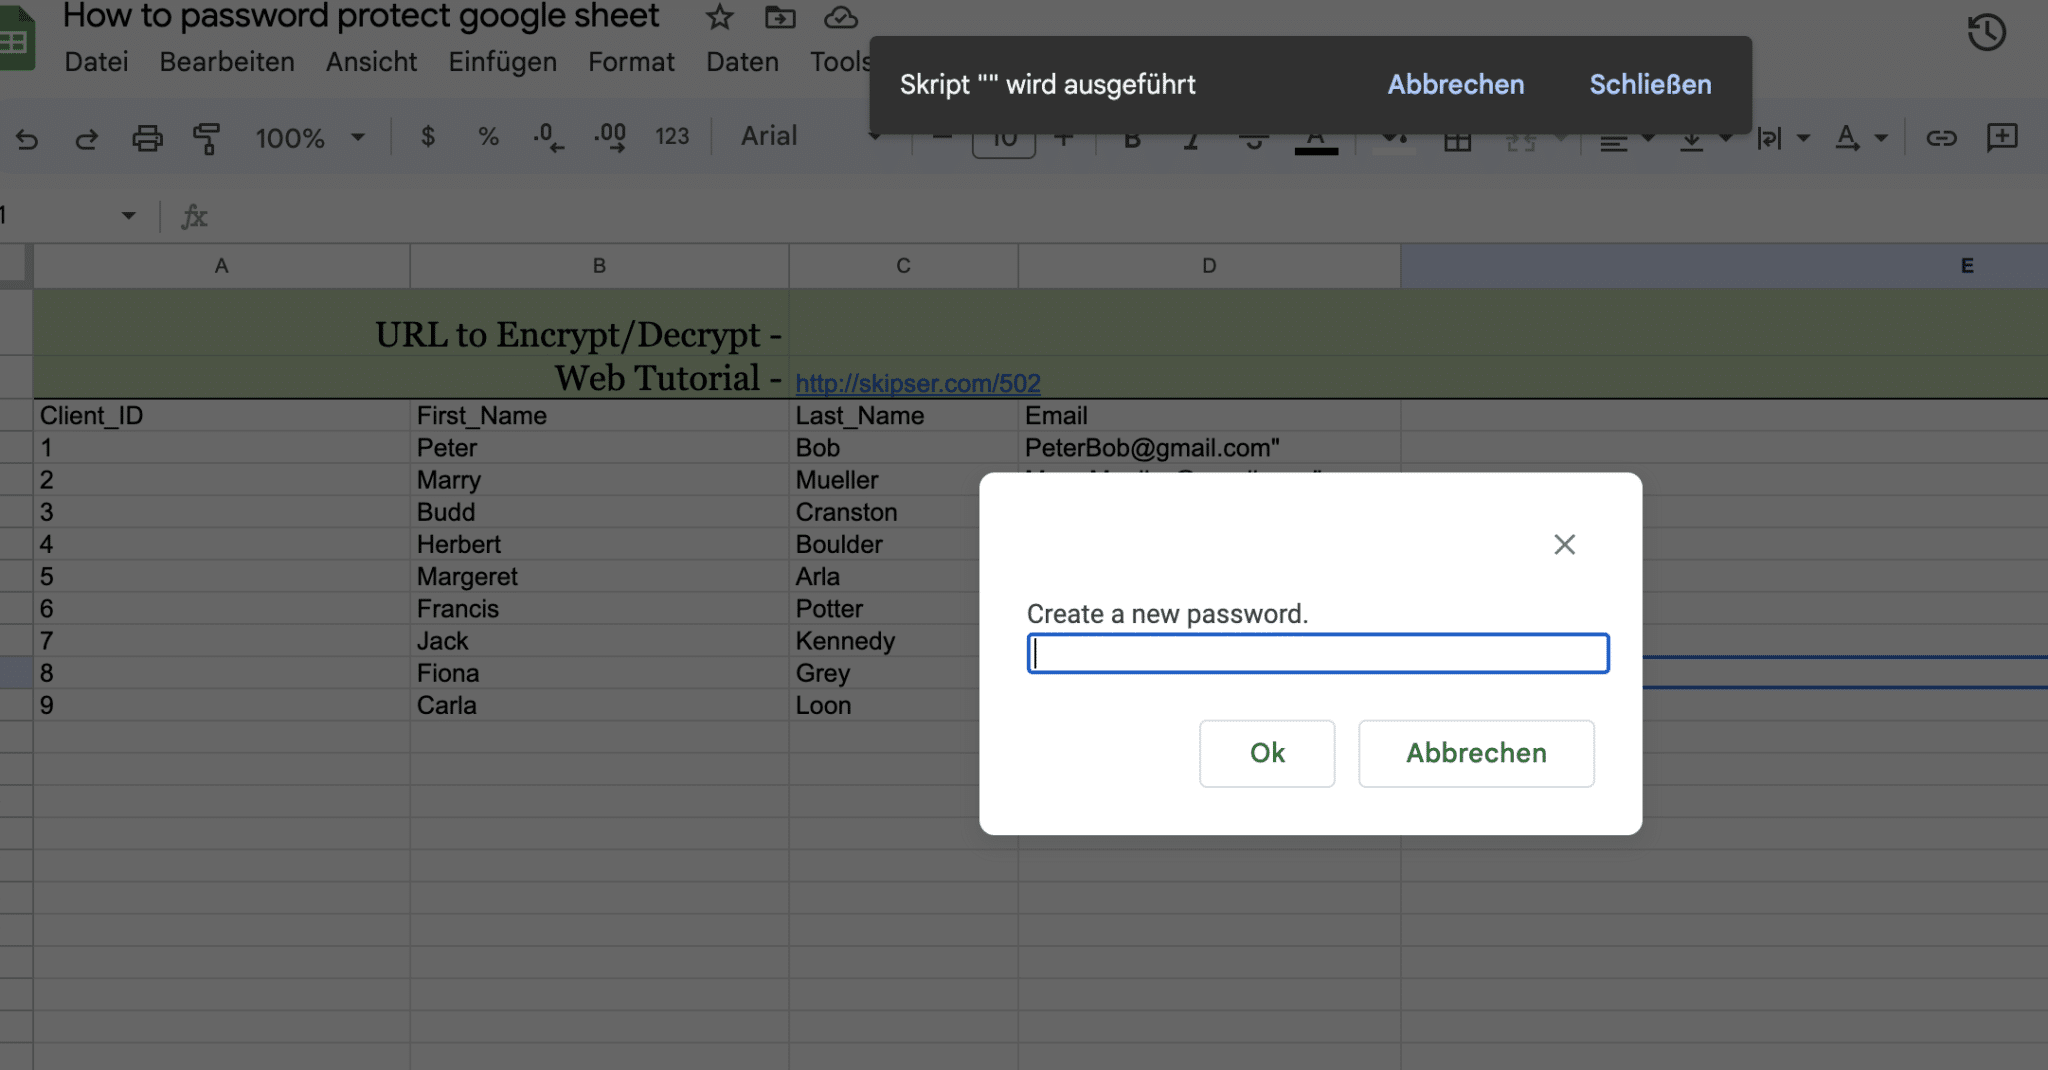
- Select the “Protect File” tab and choose the option “Encrypt File.”
- Generate a password that you will distribute to the users you have chosen.
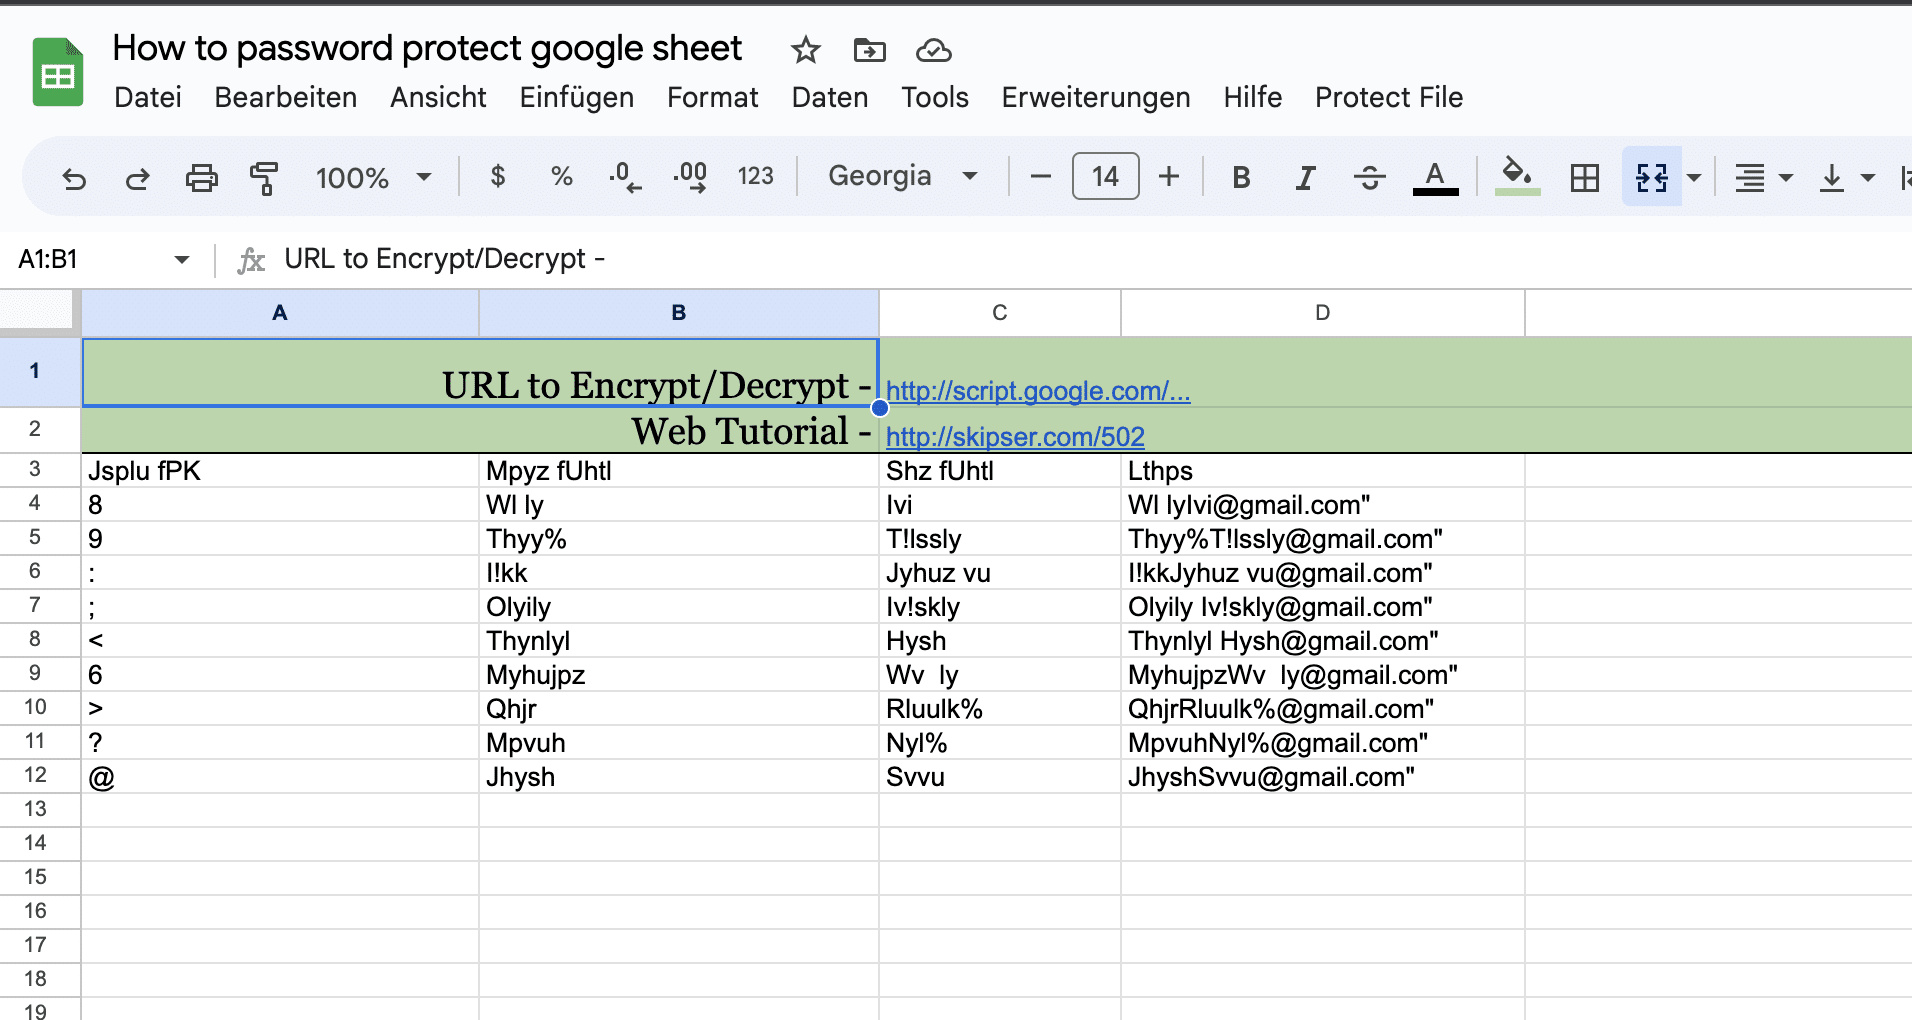
- As evident from the outcome, the data has been encrypted by scrambling the contents within each cell. It will remain unreadable unless someone possesses the password you generated.
How to Change the Password of an Encrypted File?
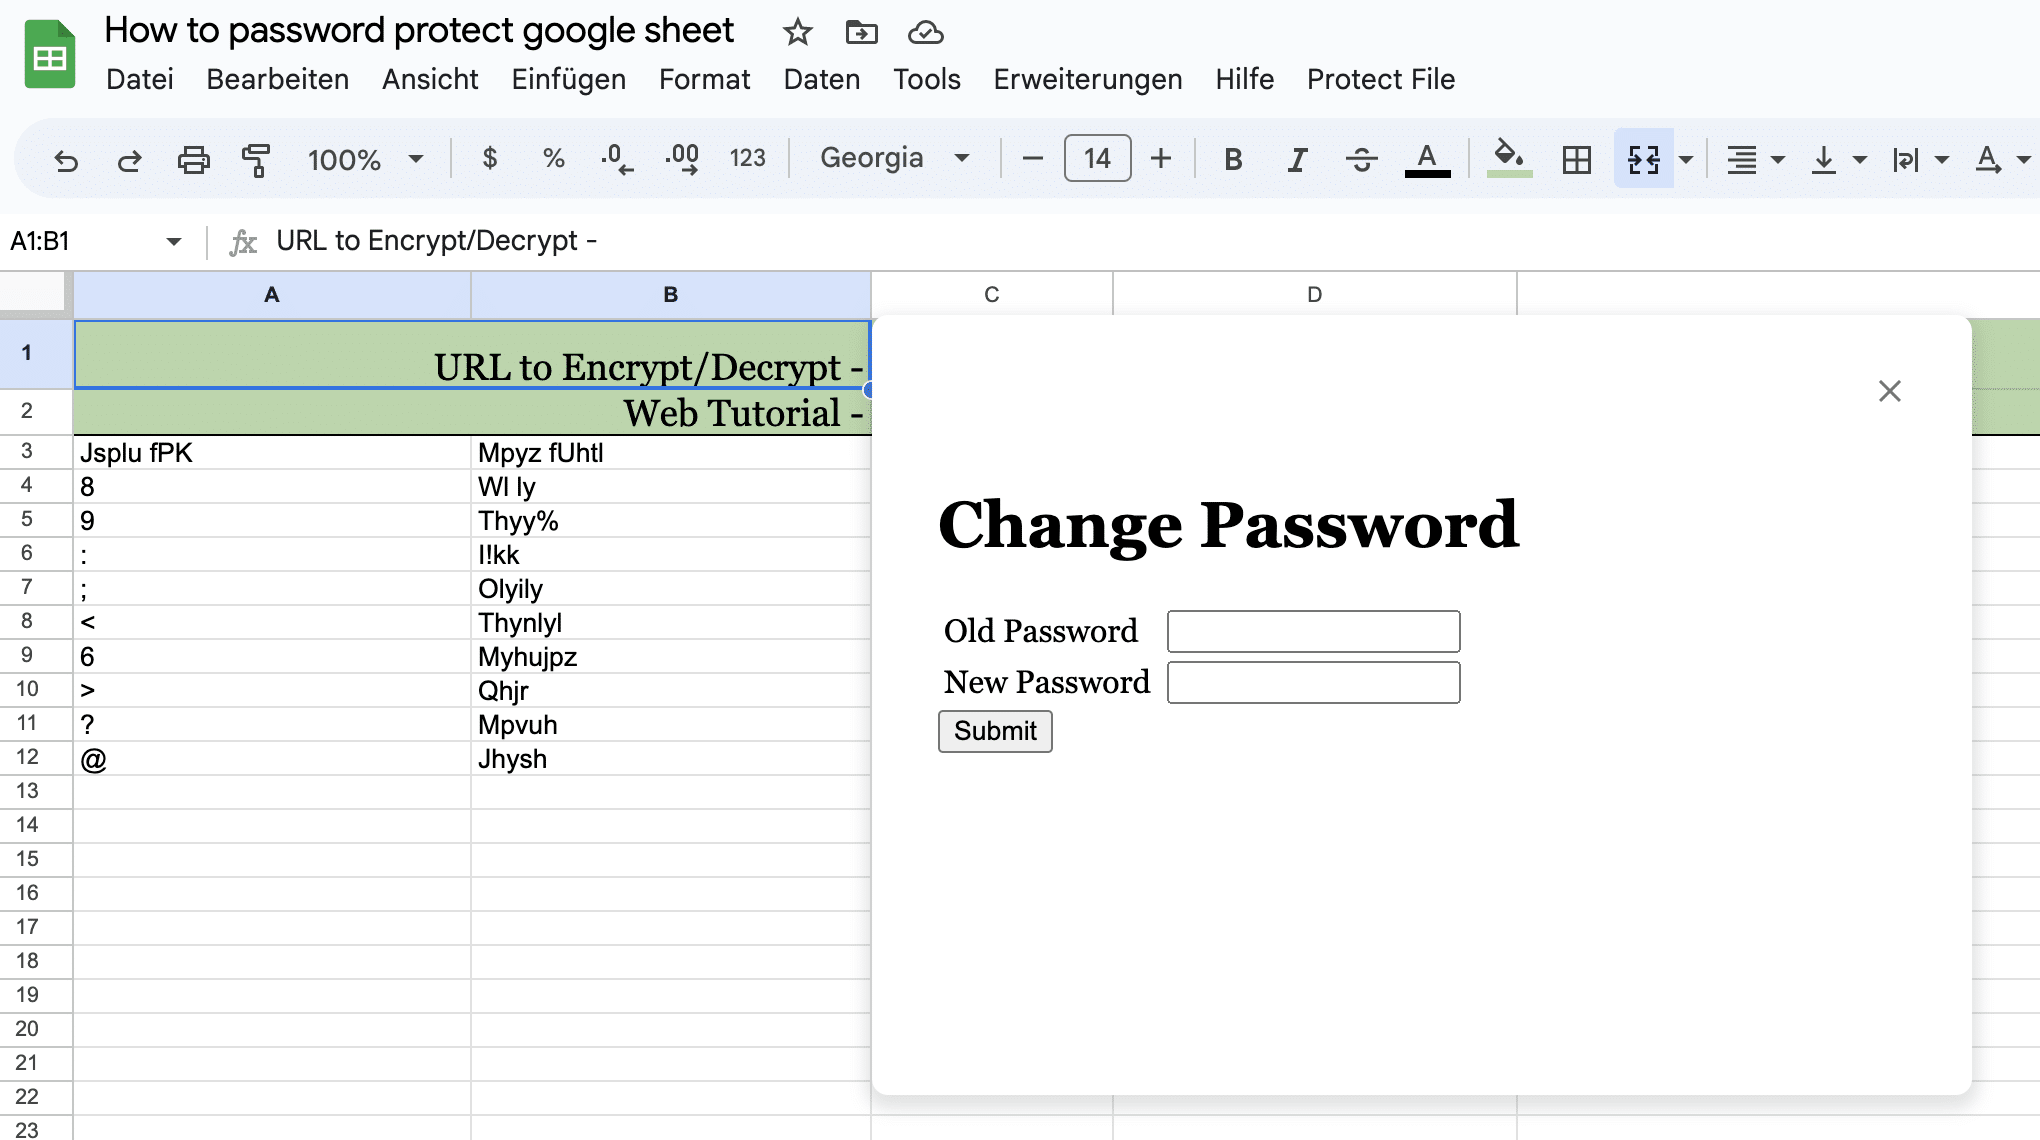
Frequently, we share passwords with colleagues or team members who may no longer be involved in the same project or when the shared data becomes highly confidential. However, there’s no need to worry. Just as the password was initially created, users can easily change the password for the encrypted file.
Like any other online platform that stores sensitive data, it’s good to update your password frequently. However, this can become a cumbersome task for which we often end up creating passwords that are too simple or common so that they’re easy to remember.
In the era of digital attacks and the need for cybersecurity, here are a few points by Google Account Help to take into consideration when creating a password – whether you are a single user or an administrator in charge of a team:
- Make sure your password is unique.
- Make sure your password is long but memorable.
- Avoid using personal info or common wording.
How to Decrypt Your Data in Google Sheets?
We have already seen how you can encrypt your Google Sheet; however, you may want to read the information or delegate a task that would require sharing the password so it can be decrypted.
Here is how:
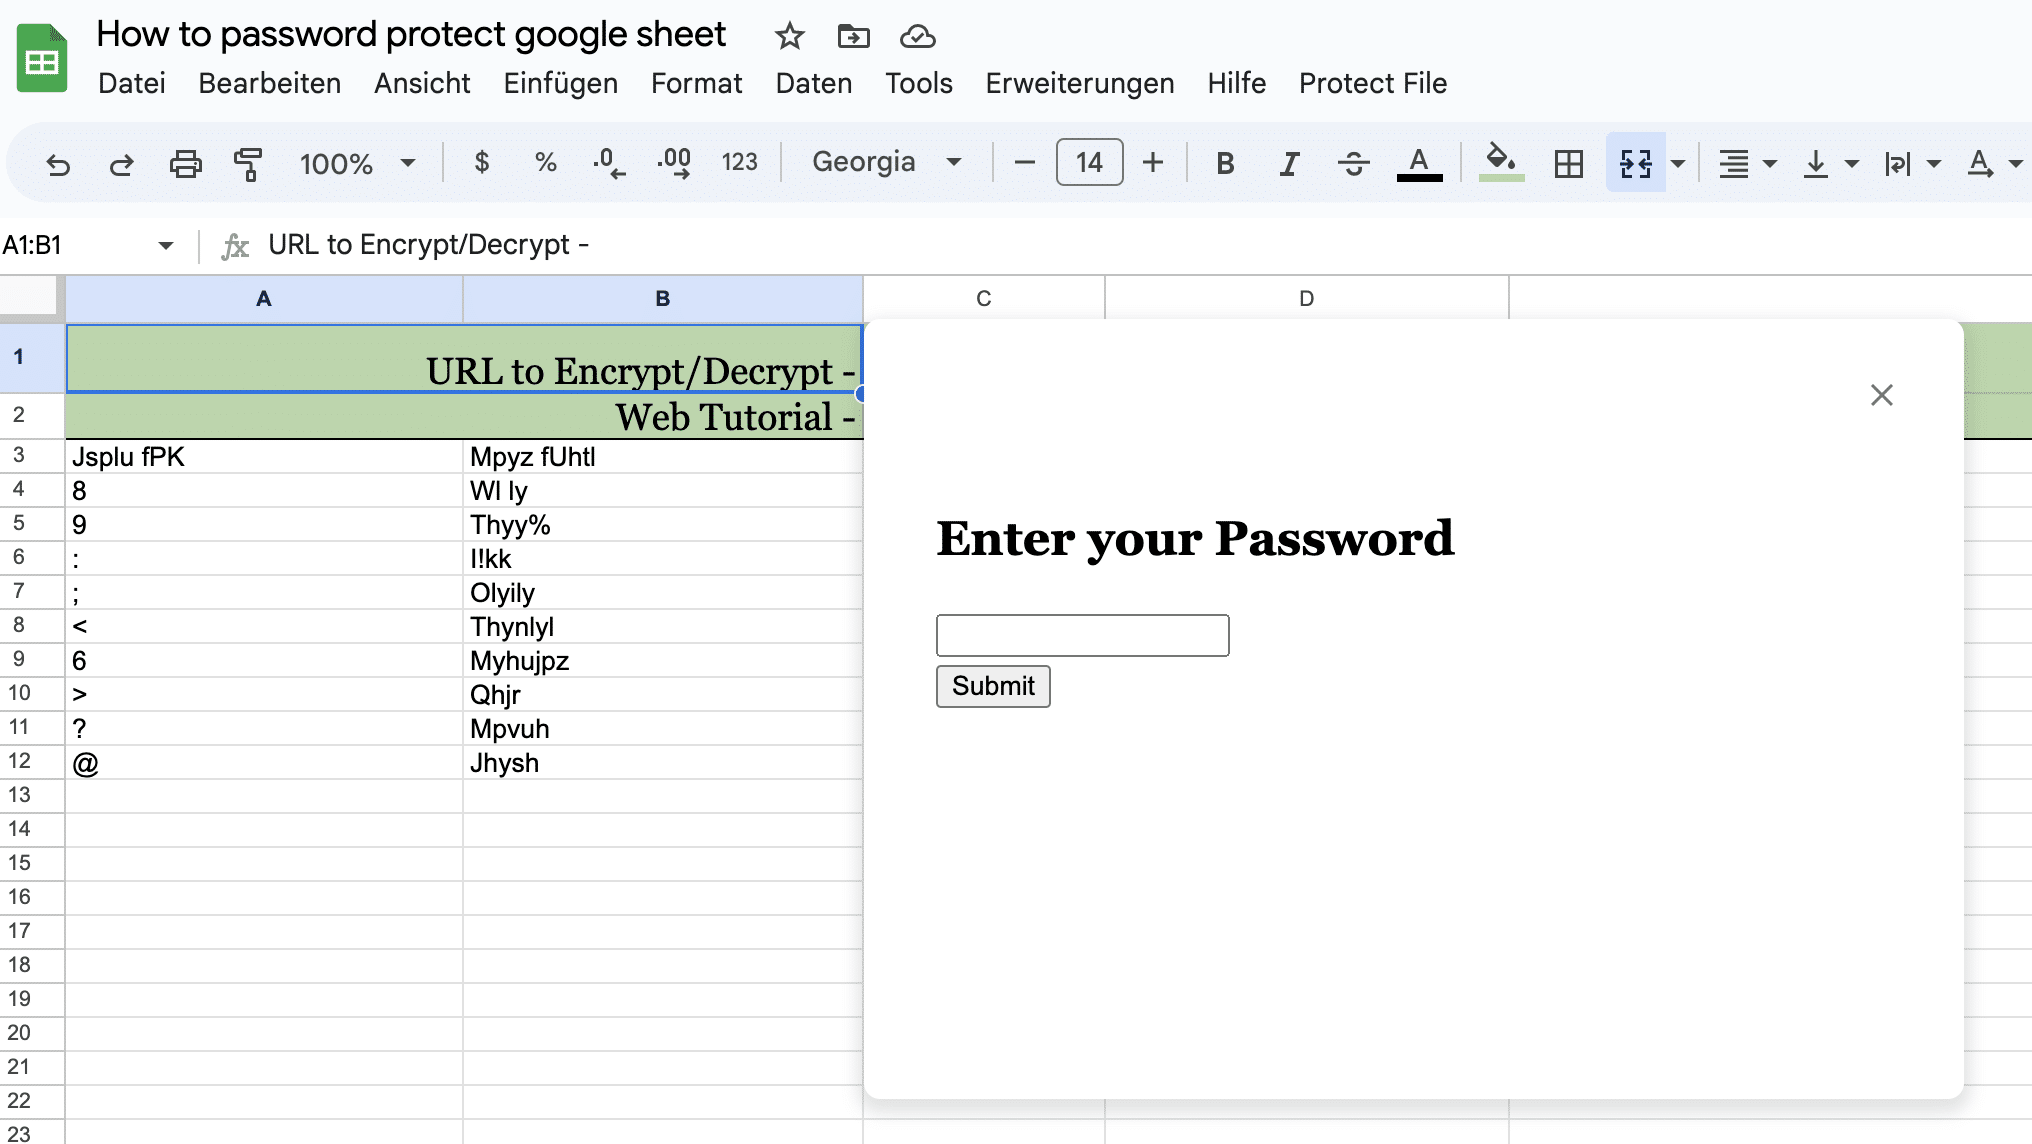
- Navigate to the “Protect File” tab and choose the option “Decrypt File.” Once again, you will be prompted to enter the password.
- After entering the password, you will now have the ability to read the contents of the cells and make any desired edits to the data.
How to Access an Encrypted Sheet on Your Phone?
When it comes to urgent or last-minute tasks, many of us rely on our mobile phones rather than computer devices. However, accessing the “Protect File” tab for encryption and decryption in Google Sheets is not available on mobile devices. If you need to access an encrypted sheet on your phone, you can follow these steps:
- Click on the encrypt/decrypt URL provided in the first row, as mentioned in step 3 of the article.
- The URL is generated and added after clicking on “Deploy,” as described in step 6 of the first section.
- Once the URL is fully loaded, a window will appear, prompting you to enter the password for encryption or decryption.
- After the encryption or decryption process is complete, you can select “Go back.” A clickable link will now be displayed, allowing you to load the encrypted or decrypted Google Sheet.
Conclusion
While sensitive or confidential information extends beyond Google Sheets, many individuals and businesses utilize this online platform to store personal and professional documents containing various sensitive details, such as passwords, phone numbers, bank account information, and payment details.
Google offers a range of tools to facilitate collaborative online work for businesses. However, this also means that the volume of sensitive or confidential information stored in the cloud is increasing significantly. As stated earlier, the critical question remains: Are Google Sheets secure? Theoretically, yes, but in practice, not entirely. Relying solely on your Google account password no longer ensures the complete security of your Google Sheets.
This article has outlined a straightforward and accessible approach to password-protect Google Sheets. It provides step-by-step instructions on encrypting and decrypting a Google Sheet and allows you to change the password conveniently from any device, be it a computer or a mobile phone.
Get Started With a Prebuilt Template!
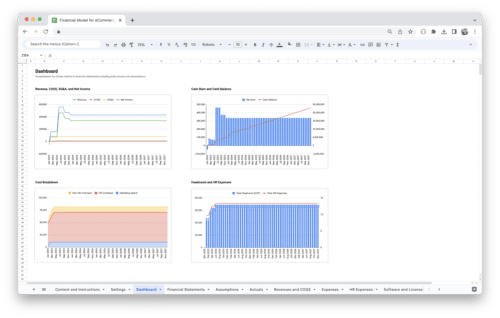
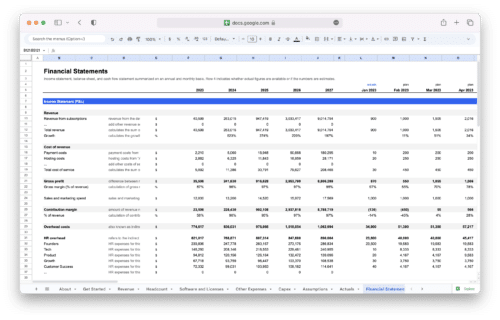
Looking to streamline your business financial modeling process with a prebuilt customizable template? Say goodbye to the hassle of building a financial model from scratch and get started right away with one of our premium templates.
- Save time with no need to create a financial model from scratch.
- Reduce errors with prebuilt formulas and calculations.
- Customize to your needs by adding/deleting sections and adjusting formulas.
- Automatically calculate key metrics for valuable insights.
- Make informed decisions about your strategy and goals with a clear picture of your business performance and financial health.


