- Understanding the Excel File Structure
- Importance of Combining Excel Files
- Benefits of Consolidating Data
- How to Prepare the Data for Merging?
- How to Combine Excel Files Manually Using Copy and Paste?
- How to Combine Excel Files Using Excel Built-in Functions and Features?
- How to Combine Excel Files Automatically with Excel Macros?
- Collaborative Data Merging in Shared Workbooks
- How to Combine Excel Files with Co-Authoring?
- Conclusion
Excel is a powerful tool for organizing and analyzing data. However, managing multiple Excel files can become cumbersome and time-consuming. Combining multiple Excel files into one central file can streamline your workflow and make data analysis more efficient. In this guide, we will explore various methods and techniques to help you merge Excel files effectively. Whether you’re a beginner or an experienced user, this guide will provide you with step-by-step instructions, tips, and best practices to simplify the process. So let’s dive in and learn how to combine Excel files into one!
Understanding the Excel File Structure
Before we delve into the techniques for combining Excel files, it’s essential to understand the basic structure of Excel files. Excel files consist of workbooks and worksheets. A workbook is the main file that contains one or more worksheets. Each worksheet is a grid of cells organized into rows and columns. It’s important to identify the file formats commonly used in Excel, such as XLS, XLSX, and CSV.
XLS files are the older format used in Microsoft Office 97-2003, while XLSX files are the newer format used in recent versions. CSV (Comma-Separated Values) files store data in plain text format, with each value separated by a comma. Understanding the file structure and formats will help you choose the appropriate method for combining Excel files.
Importance of Combining Excel Files
Combining multiple Excel files into one consolidated file holds significant importance for individuals and organizations alike. Here are some key reasons why combining Excel files is important:
- Data Organization: Combining Excel files allows you to centralize and organize data from multiple sources. Instead of dealing with scattered information across various files, merging them into a single file provides a unified and structured view of the data.
- Data Analysis: By consolidating data from different Excel files, you gain the ability to perform comprehensive data analysis. Having all the relevant data in one place enables you to identify patterns, trends, and correlations more effectively, leading to more accurate insights and informed decision-making.
- Time Efficiency: Combining Excel files eliminates the need to manually switch between multiple files, saving time and effort. Instead of searching for data in different files, you can access all the required information in a single consolidated file, streamlining your workflow and increasing productivity.
- Reduced Errors: Manually copying and pasting data between Excel files increases the risk of human errors, such as incorrect cell references, misplaced data, or formatting issues. Combining files using automated methods or dedicated tools minimizes the chances of errors, ensuring data integrity and reliability.
- Collaboration: When collaborating with colleagues or team members, merging Excel files allows for seamless collaboration. It enables everyone to work on the same dataset simultaneously, fostering teamwork, enhancing communication, and promoting efficient collaboration.
- Easy Data Sharing: Consolidating Excel files simplifies the process of sharing data with others. Instead of sharing multiple files, you can share a single consolidated file, reducing confusion and ensuring that all recipients have access to complete and up-to-date information.
Benefits of Consolidating Data
Consolidating data from multiple sources into one comprehensive Excel file offers several benefits. Let’s explore some of the advantages of consolidating data:
- Holistic View: Consolidating data allows you to gain a holistic view of the information. By bringing together data from various sources, you can analyze the complete picture, identify trends, detect outliers, and make data-driven decisions with a comprehensive understanding.
- Improved Data Accuracy: When merging data, you can cross-reference and validate information from multiple sources. This process helps identify discrepancies, errors, or inconsistencies in the data. By addressing and resolving these issues, you can ensure greater data accuracy and reliability.
- Enhanced Data Integrity: Consolidating data enables you to establish data integrity by eliminating redundant or duplicate entries. By combining similar datasets and removing duplicate records, you can maintain a clean and reliable dataset, minimizing the risk of data inconsistencies.
- Efficient Data Analysis: Working with a consolidated dataset simplifies data analysis. Instead of switching between multiple files or sources, you can focus on analyzing the data within a single file. This streamlined approach saves time, improves efficiency, and allows for more effective data exploration and interpretation.
- Identifying Relationships and Patterns: Consolidated data facilitates the identification of relationships, patterns, and insights that may not be apparent when analyzing individual datasets in isolation. By merging related data, you can uncover connections, correlations, and trends that provide valuable insights for strategic decision-making.
- Simplified Reporting: Combining data into a single file makes reporting and visualization more straightforward. With consolidated data, you can create comprehensive reports, dashboards, or visualizations that present a complete overview of the information. This simplifies the communication of insights to stakeholders and enhances the clarity of your reports.
In summary, consolidating data offers numerous benefits, including a holistic view of the information, improved accuracy and integrity, efficient analysis, and simplified reporting. By combining data from multiple sources, you can unlock the full potential of your data, enabling better decision-making and maximizing the value derived from your Excel files.
How to Prepare the Data for Merging?
Before combining Excel files, it’s crucial to prepare the data to ensure consistency and accuracy. To prepare your data for merging:
- Assess the data to be merged: Evaluate the structure and content of each Excel file to determine how they can be combined effectively. Consider factors such as the number of worksheets, data types, and any unique identifiers present.
- Ensure data consistency and uniformity: Standardize data formats, such as date formats and number formats, to ensure consistency across all files. This step minimizes discrepancies when merging the data.
- Clean up data to remove duplicates or errors: Identify and eliminate any duplicate records, incorrect entries, or inconsistencies in the data. Use Excel’s built-in tools like conditional formatting or data validation to identify and rectify errors.
- Organize data for efficient combination: Arrange data in a consistent manner across all files. Ensure that columns and headers match to facilitate easy merging. Consider creating a consistent naming convention for worksheets or columns that need to be combined.
By following these preparatory steps, you’ll have a clean and organized dataset ready for merging.
How to Combine Excel Files Manually Using Copy and Paste?
One of the simplest ways to combine Excel files is by using the manual method of copy and paste. Although it is suitable for small datasets, it can become cumbersome and prone to errors as the files grow larger.
- Select the range to copy: Choose the data range you want to merge from one file.
- Copy the selected range: Press Ctrl/Cmd + C or right-click and select “Copy” to copy the data to the clipboard.
- Switch to the destination file: Open the destination file where you want to combine the data.
- Create a new worksheet if necessary: If there is no existing worksheet to paste the data into, create a new one.
- Select the destination location: Choose the cell where you want to paste the data in the destination worksheet.
- Paste the data: Press Ctrl/Cmd + V or right-click and select “Paste” to paste the copied data into the destination file.
While this method is straightforward, it becomes increasingly tedious and error-prone as the number of files and data size grow. Therefore, it’s best suited for small-scale merging tasks.
How to Combine Excel Files Using Excel Built-in Functions and Features?
Excel provides several built-in functions and features that can simplify the process of combining Excel files. Let’s explore some of these functions and how they can be used for merging:
How to Combine Excel Files Using CONCATENATE?
The CONCATENATE function in Excel allows you to join text strings from multiple cells into one cell. Here’s how to use the CONCATENATE function:
Syntax: =CONCATENATE(text1, text2, …)
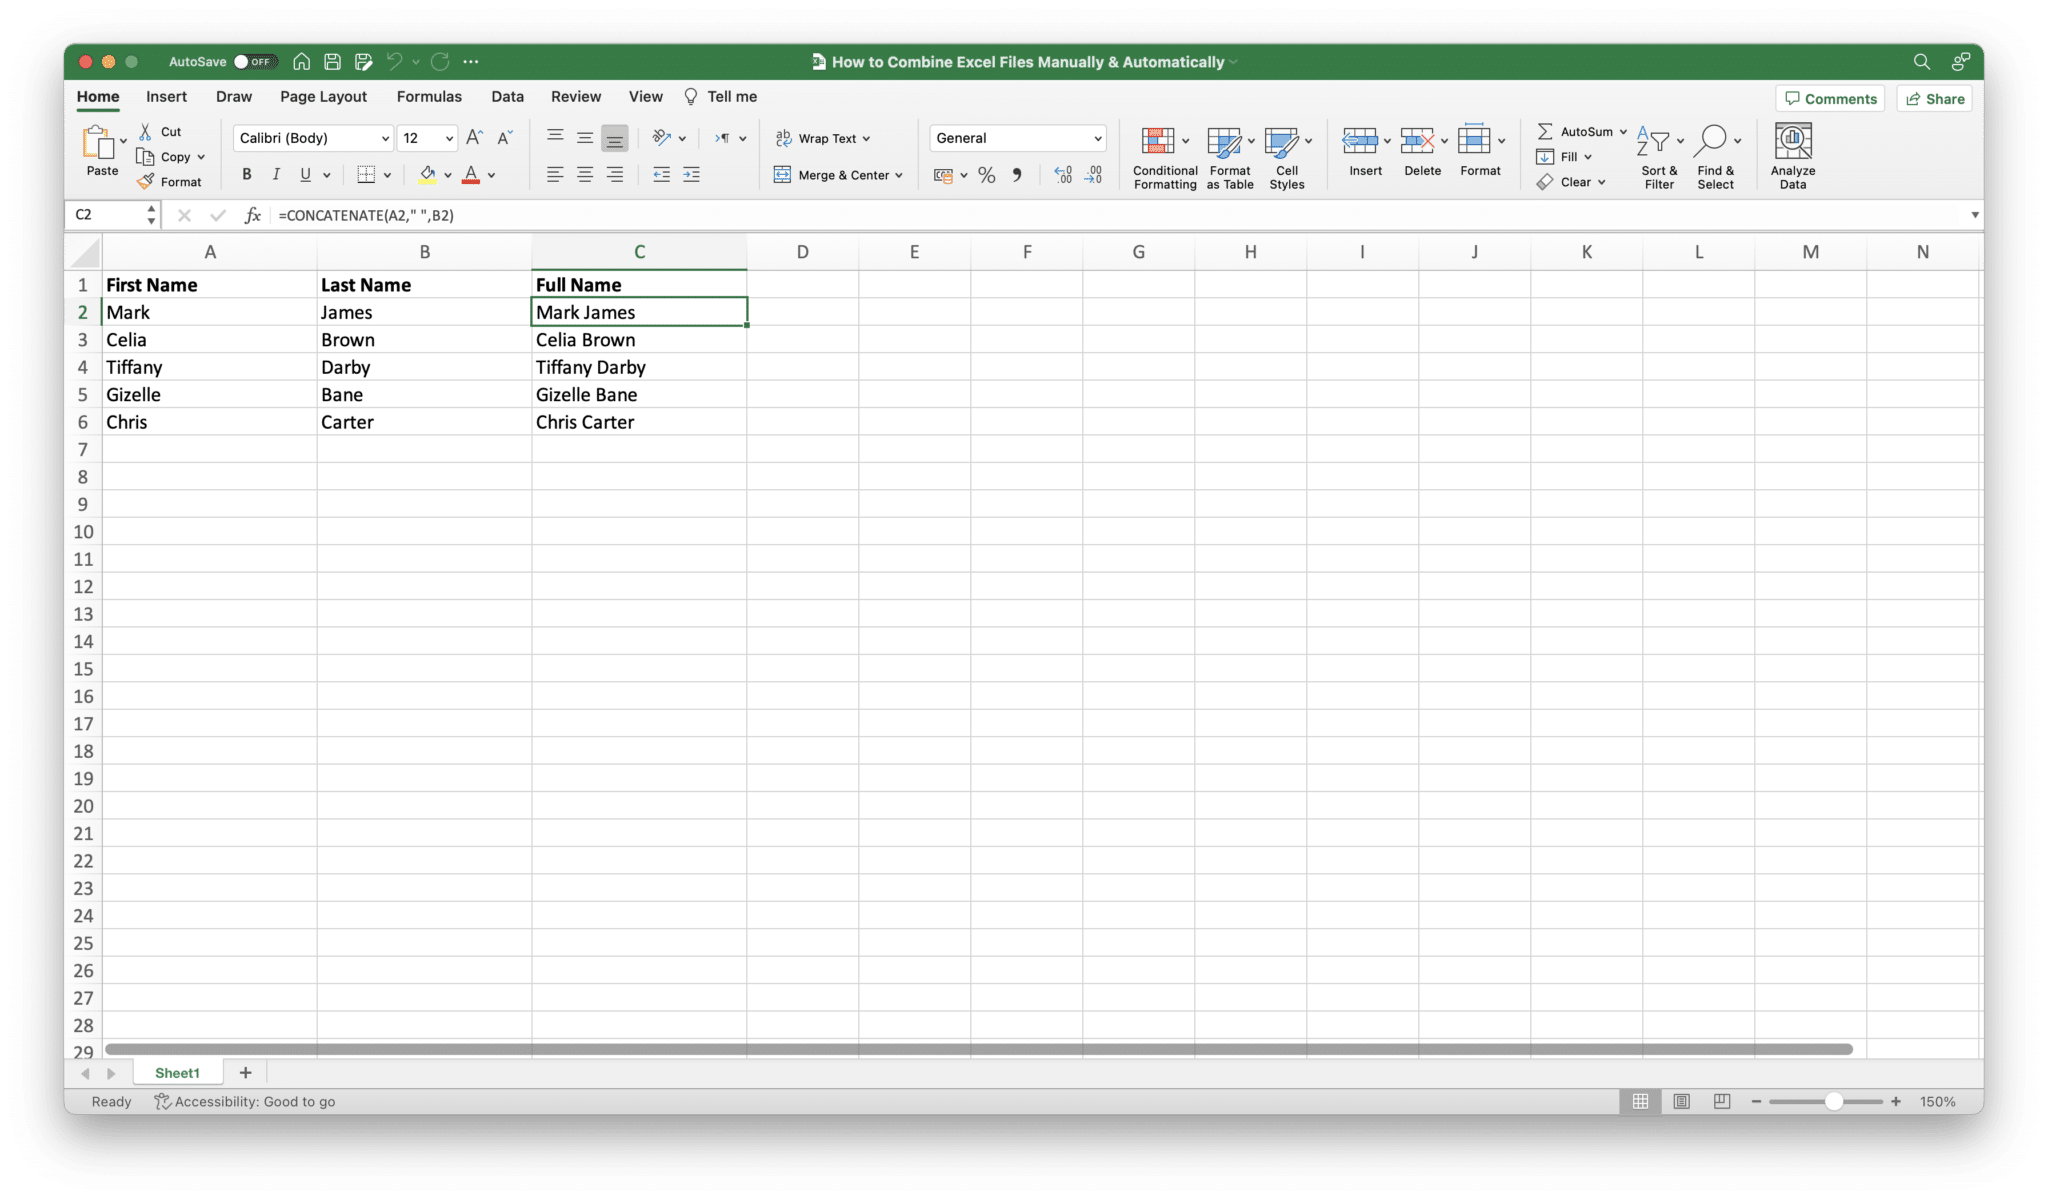
Example: Suppose you have data in cell A2 and B2 that you want to merge into one cell. You can use the CONCATENATE function as follows: =CONCATENATE(A2, ” “, B2). This will combine the contents of cells A2 and B2 with a space in between.
How to Combine Excel Files Using VLOOKUP and HLOOKUP?
The VLOOKUP and HLOOKUP functions are useful for merging data based on matching values. Here’s how to use these functions:
- The VLOOKUP function searches for a value in the first column of a table and returns a corresponding value from a specified column.
VLOOKUP Syntax: =VLOOKUP(lookup_value, table_array, col_index_num, [range_lookup])
- The HLOOKUP function works similarly but searches in the first row of a table and returns a value from a specified row.
HLOOKUP Syntax: =HLOOKUP(lookup_value, table_array, row_index_num, [range_lookup])
These functions are handy when you have a common identifier to match and merge data between files.
How to Combine Excel Files Using INDEX and MATCH?
The INDEX and MATCH functions are a powerful combination for merging data from different files based on multiple criteria. Here’s how to use these functions:
- The INDEX function returns the value of a cell in an array based on the specified row and column numbers.
INDEX Syntax: =INDEX(array, row_num, [column_num])
- The MATCH function searches for a specified value in a specified range and returns the position of the value within the range.
MATCH Syntax: =MATCH(lookup_value, lookup_array, [match_type])
By combining these functions, you can perform complex data merges based on multiple criteria.
How to Combine Excel Files Using Power Query?
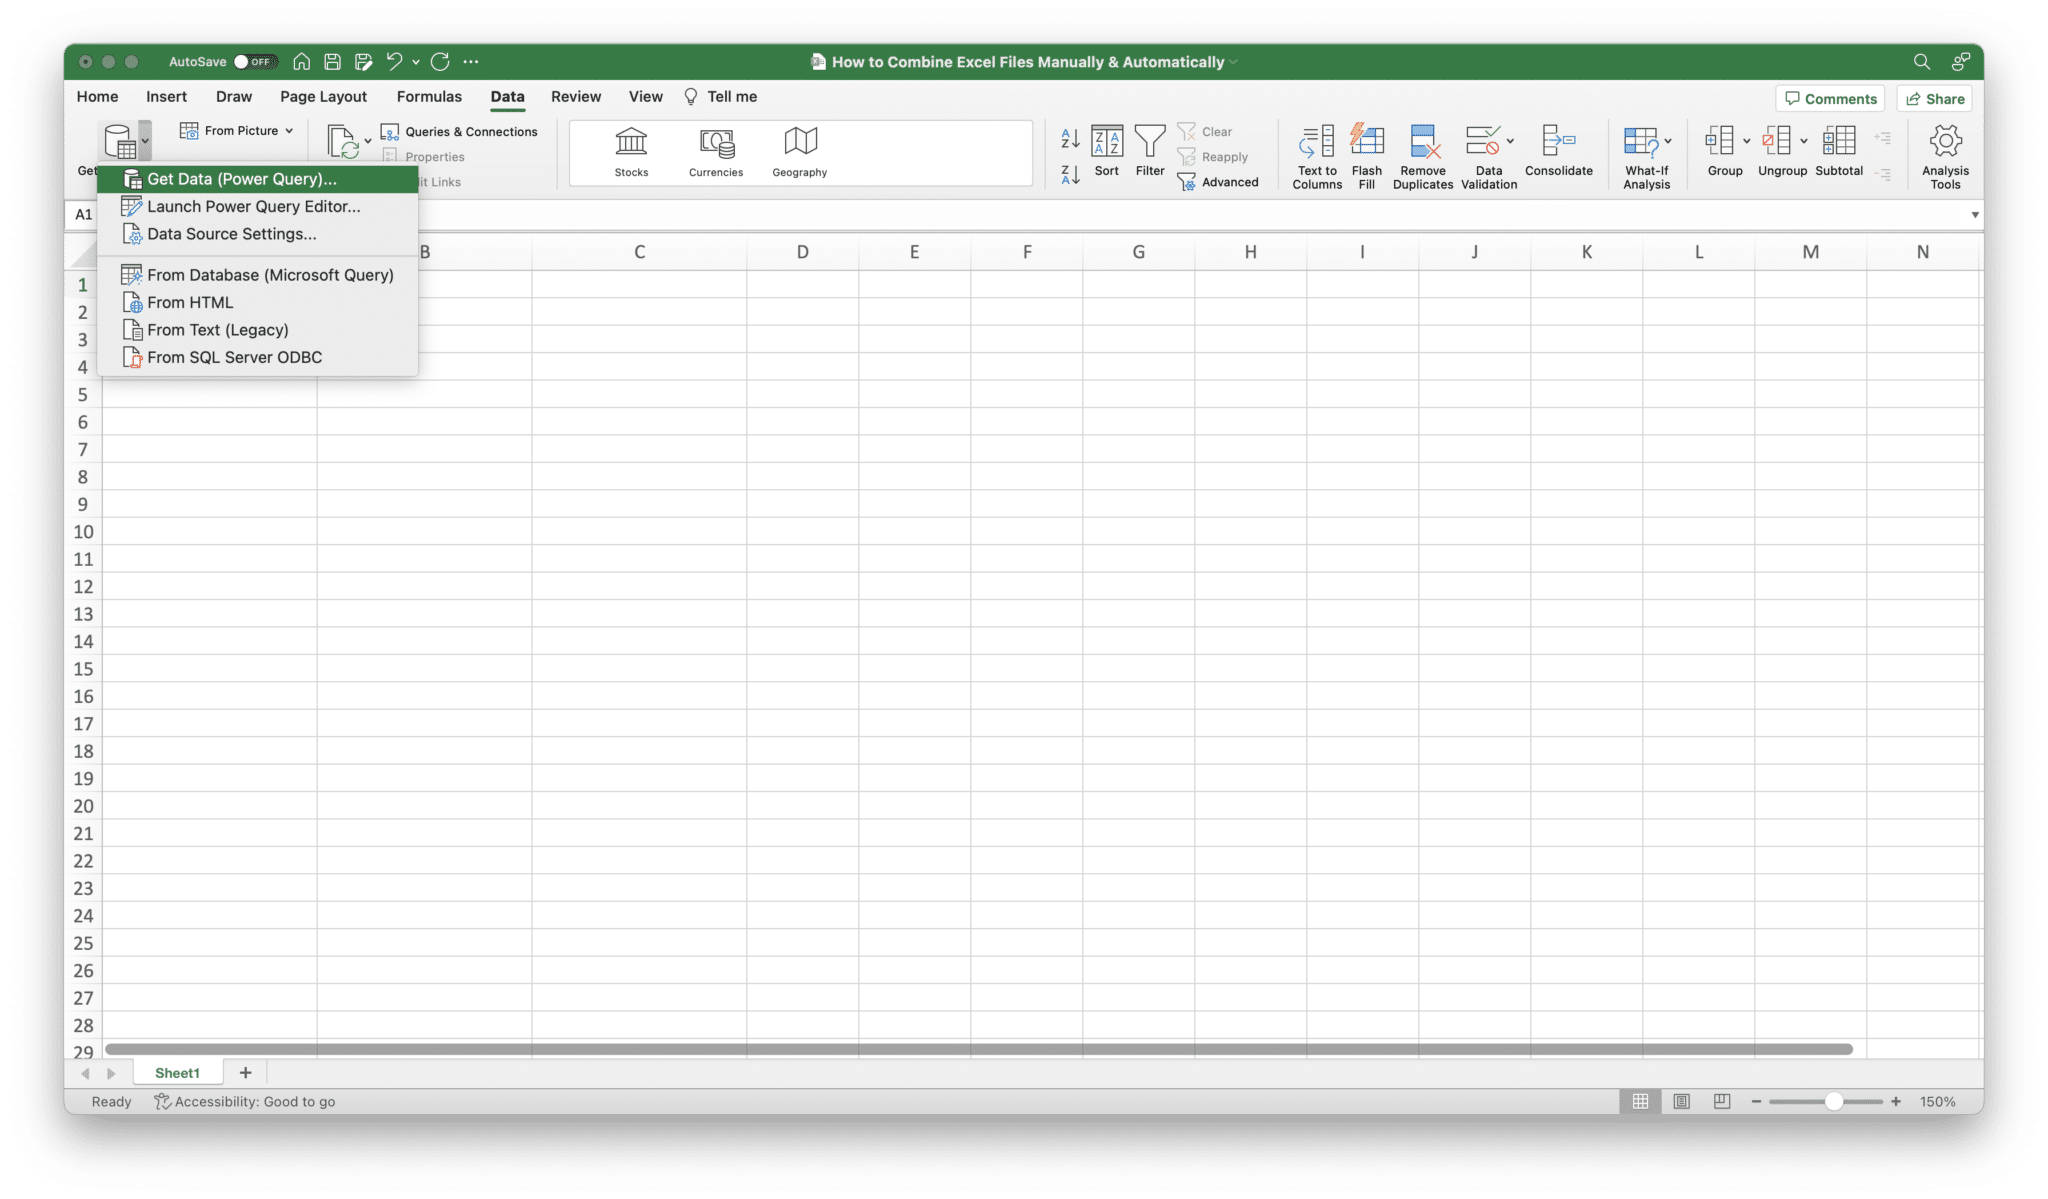
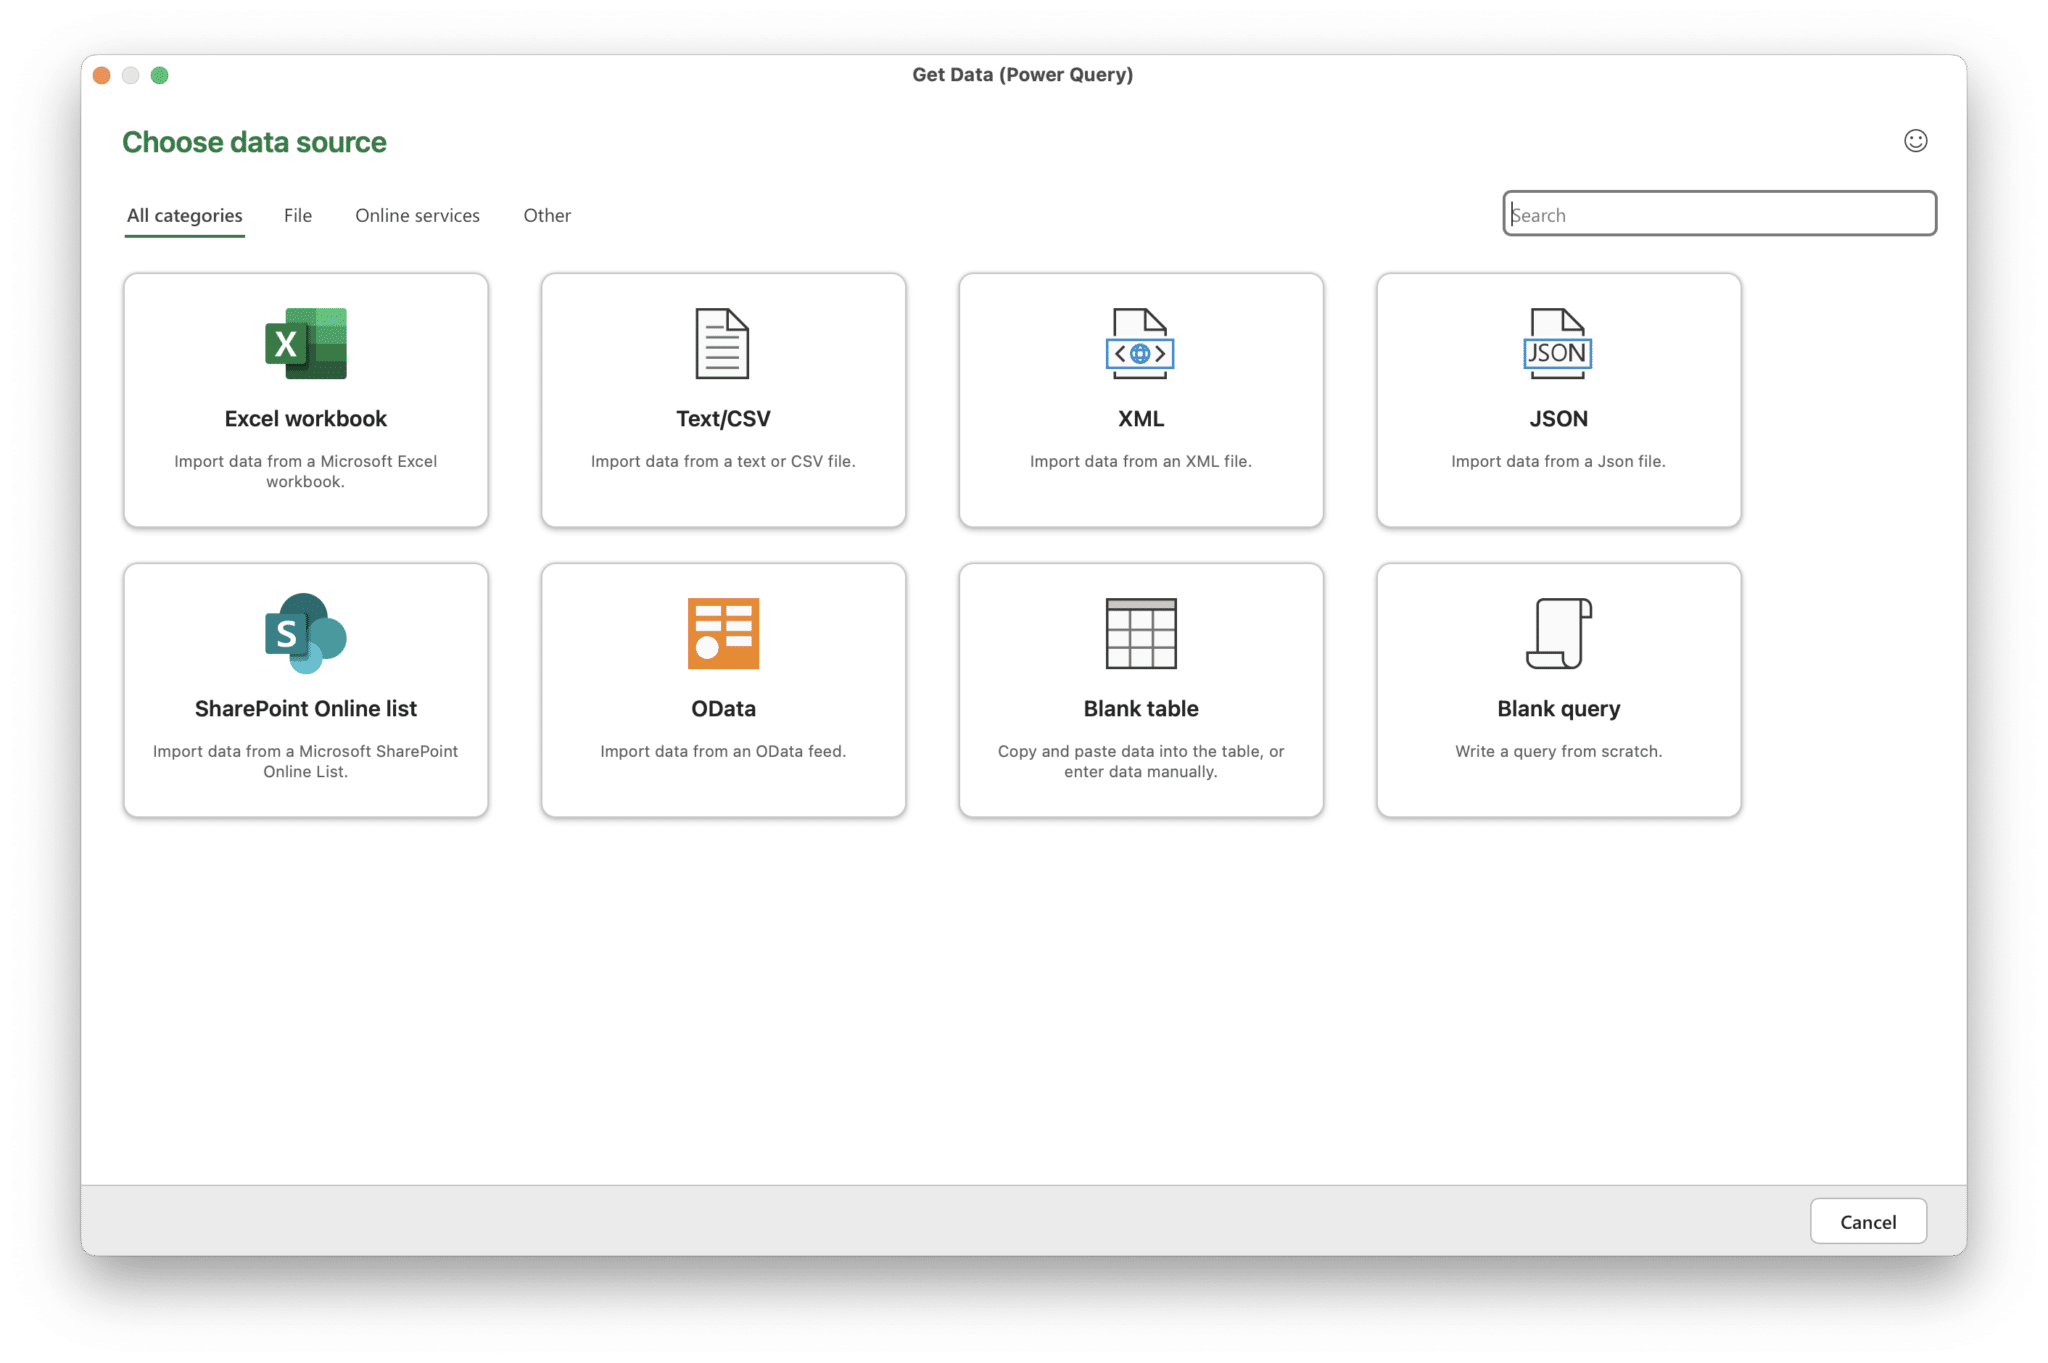
Excel’s Power Query feature, also known as Get & Transform, enables you to import, transform, and consolidate data from various sources, including multiple Excel files. Here’s how to use Power Query for data consolidation:
- Open the Power Query Editor: Go to the “Data” tab and click on “Get Data” or “Get & Transform” (depending on your Excel version).

- Select the data sources: Choose the format of your files or folders.

- Configure the data import: Specify the files or folders containing the data you want to consolidate.
- Transform the data: Use Power Query’s intuitive interface to filter, sort, or transform the data as needed.
- Combine the data: Choose the option to load the consolidated data into a new worksheet or append it to an existing table.

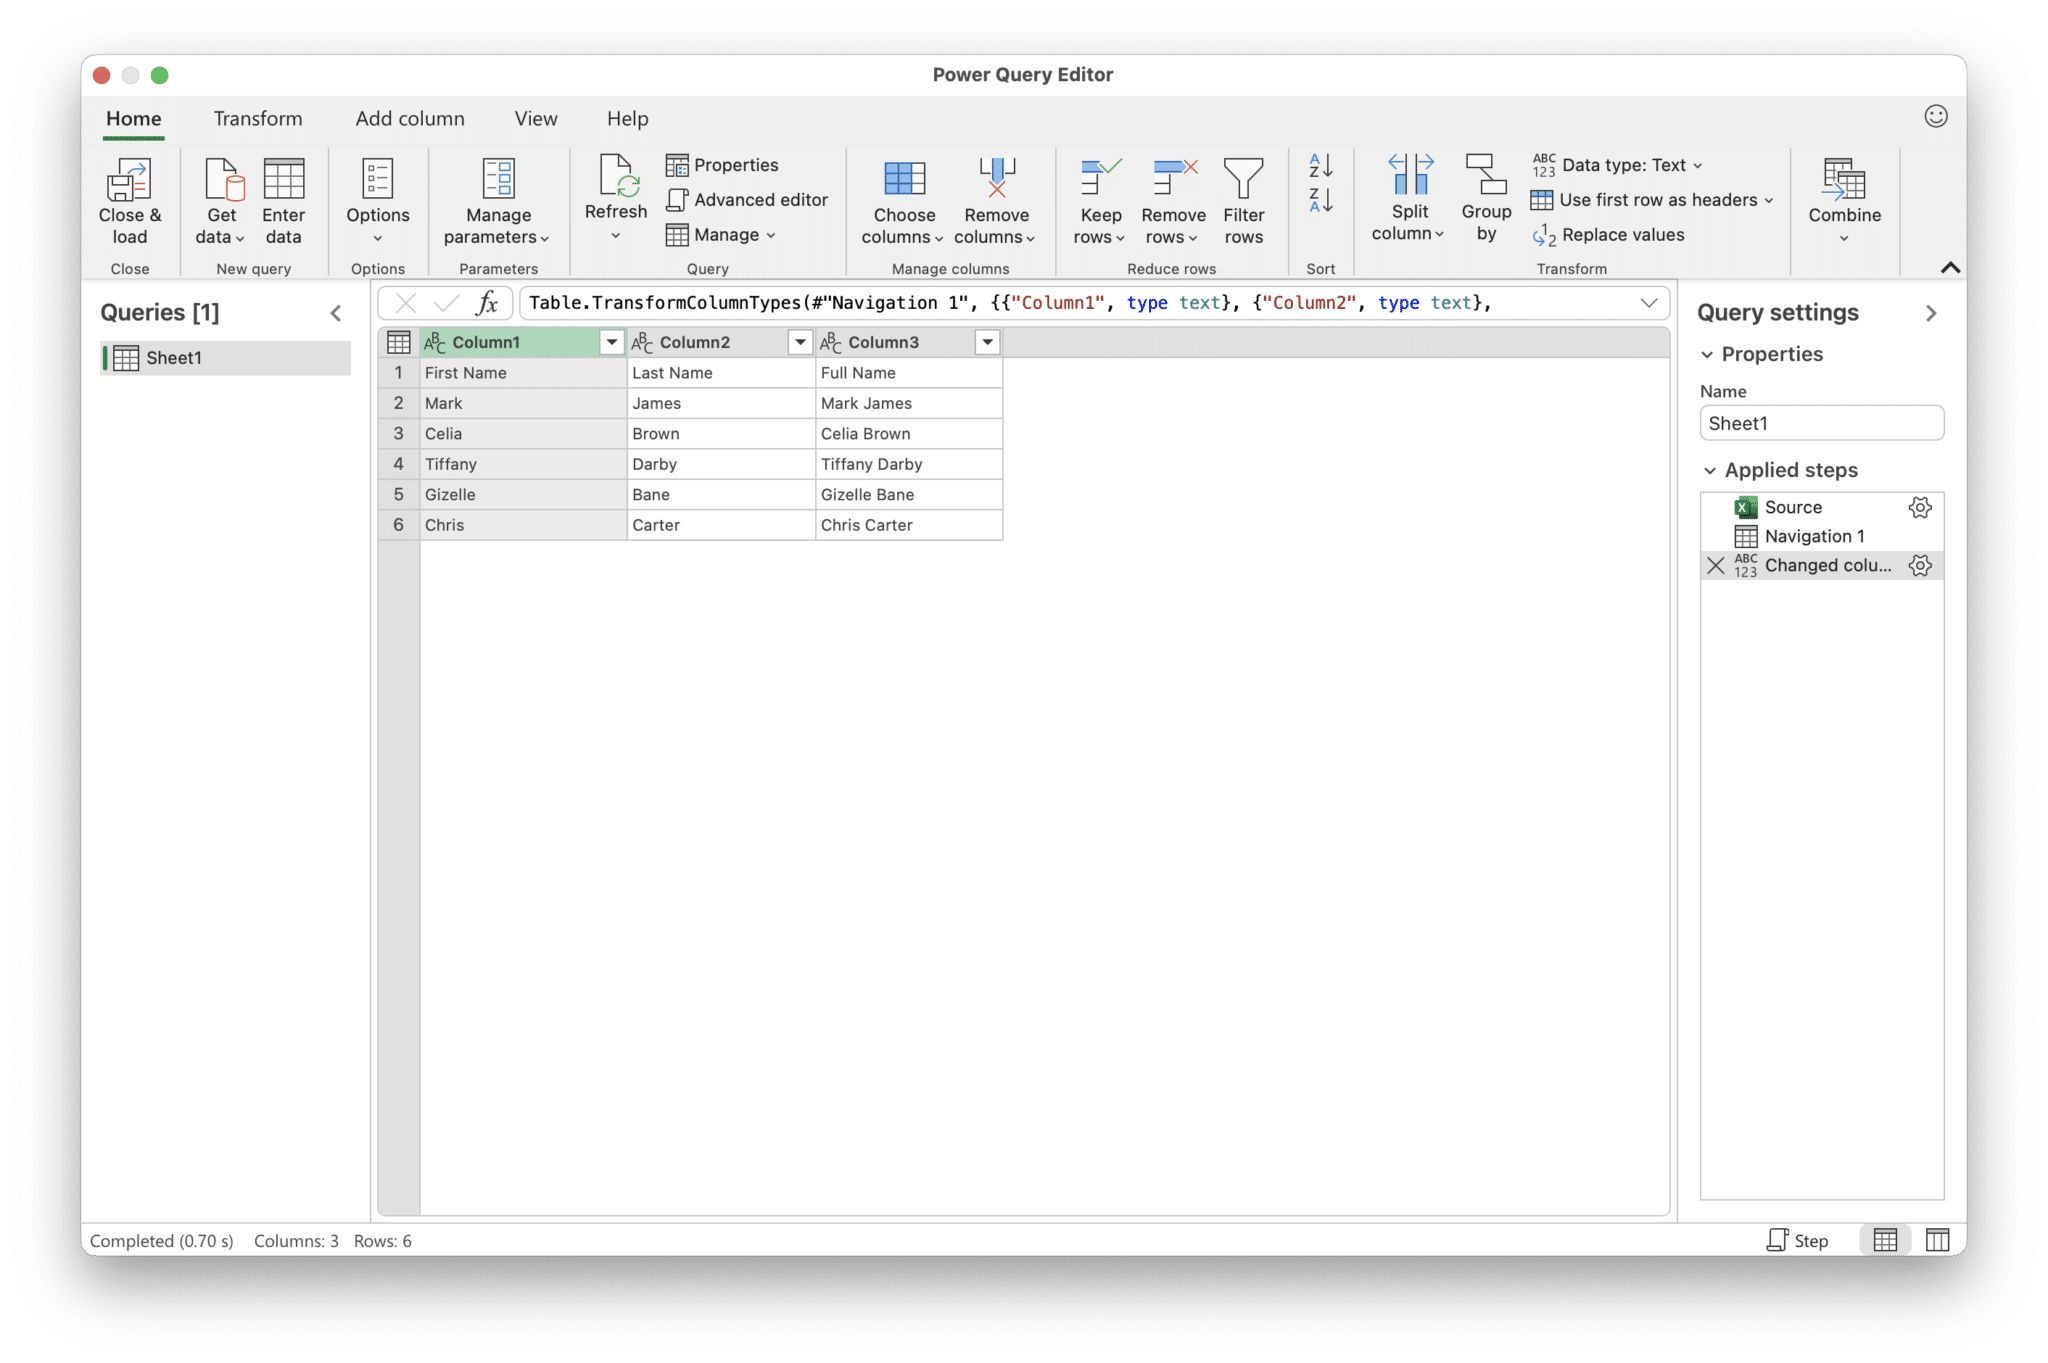
Power Query provides a comprehensive set of tools for consolidating data from multiple Excel files. It allows you to automate the process, handle complex transformations, and refresh the data whenever required.
How to Combine Excel Files Automatically with Excel Macros?
Excel macros, powered by VBA (Visual Basic for Applications), allow you to automate repetitive tasks and streamline the merging process. Macros can be created or modified to suit your specific merging requirements. Here’s how you can leverage Excel macros to combine Excel files:
- Open Excel files: Open all the Excel files you want to combine.
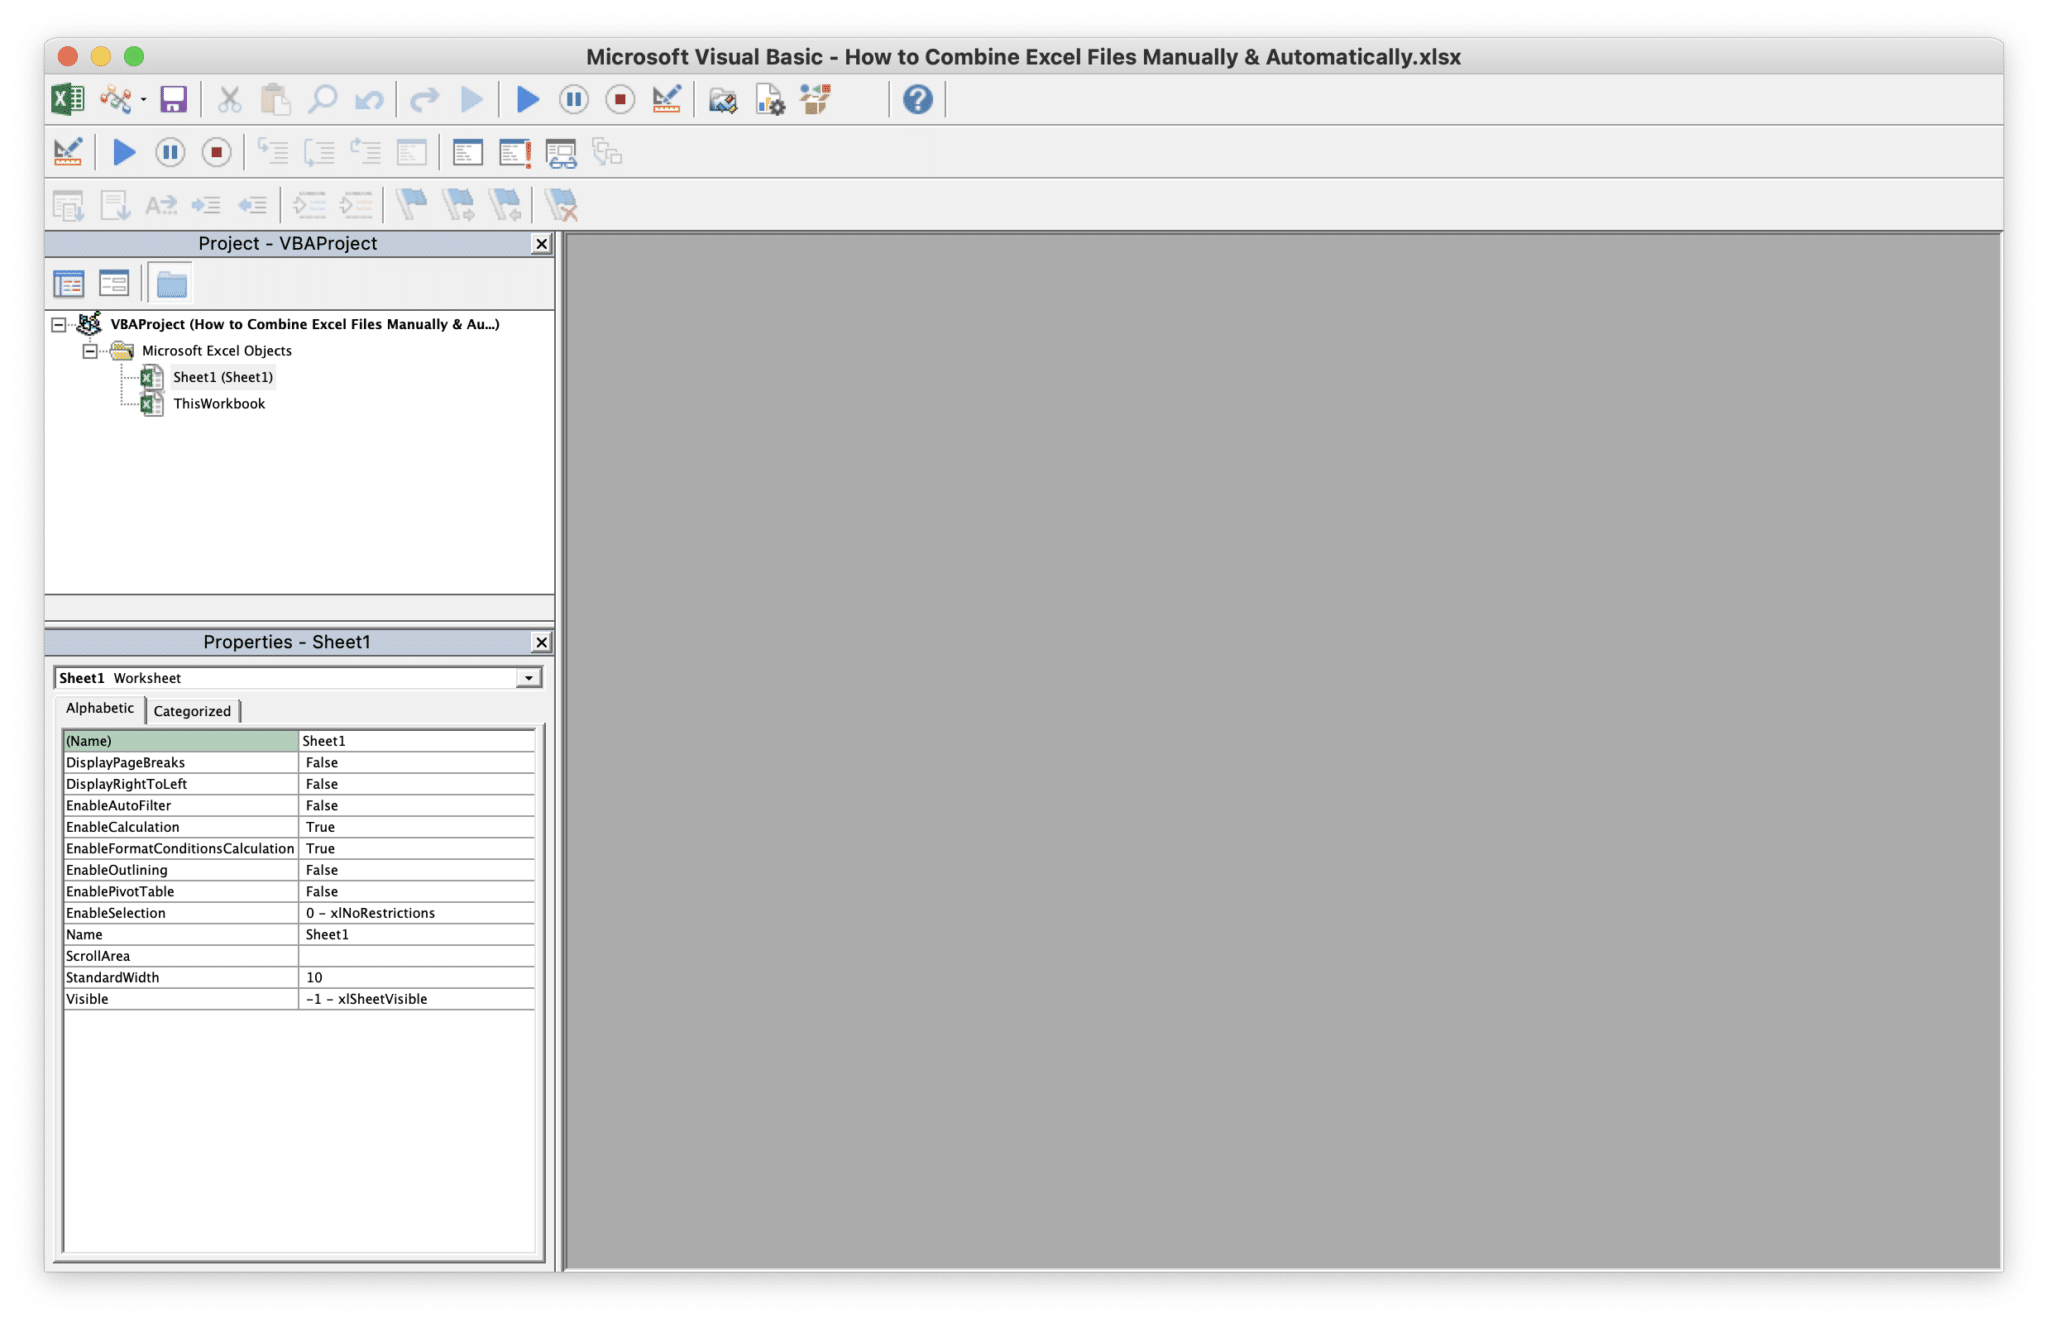
- Access the VBA editor: Use the shortcut Alt + F11 (Windows) or Opt + F11 (Mac) to open the VBA editor within Excel.

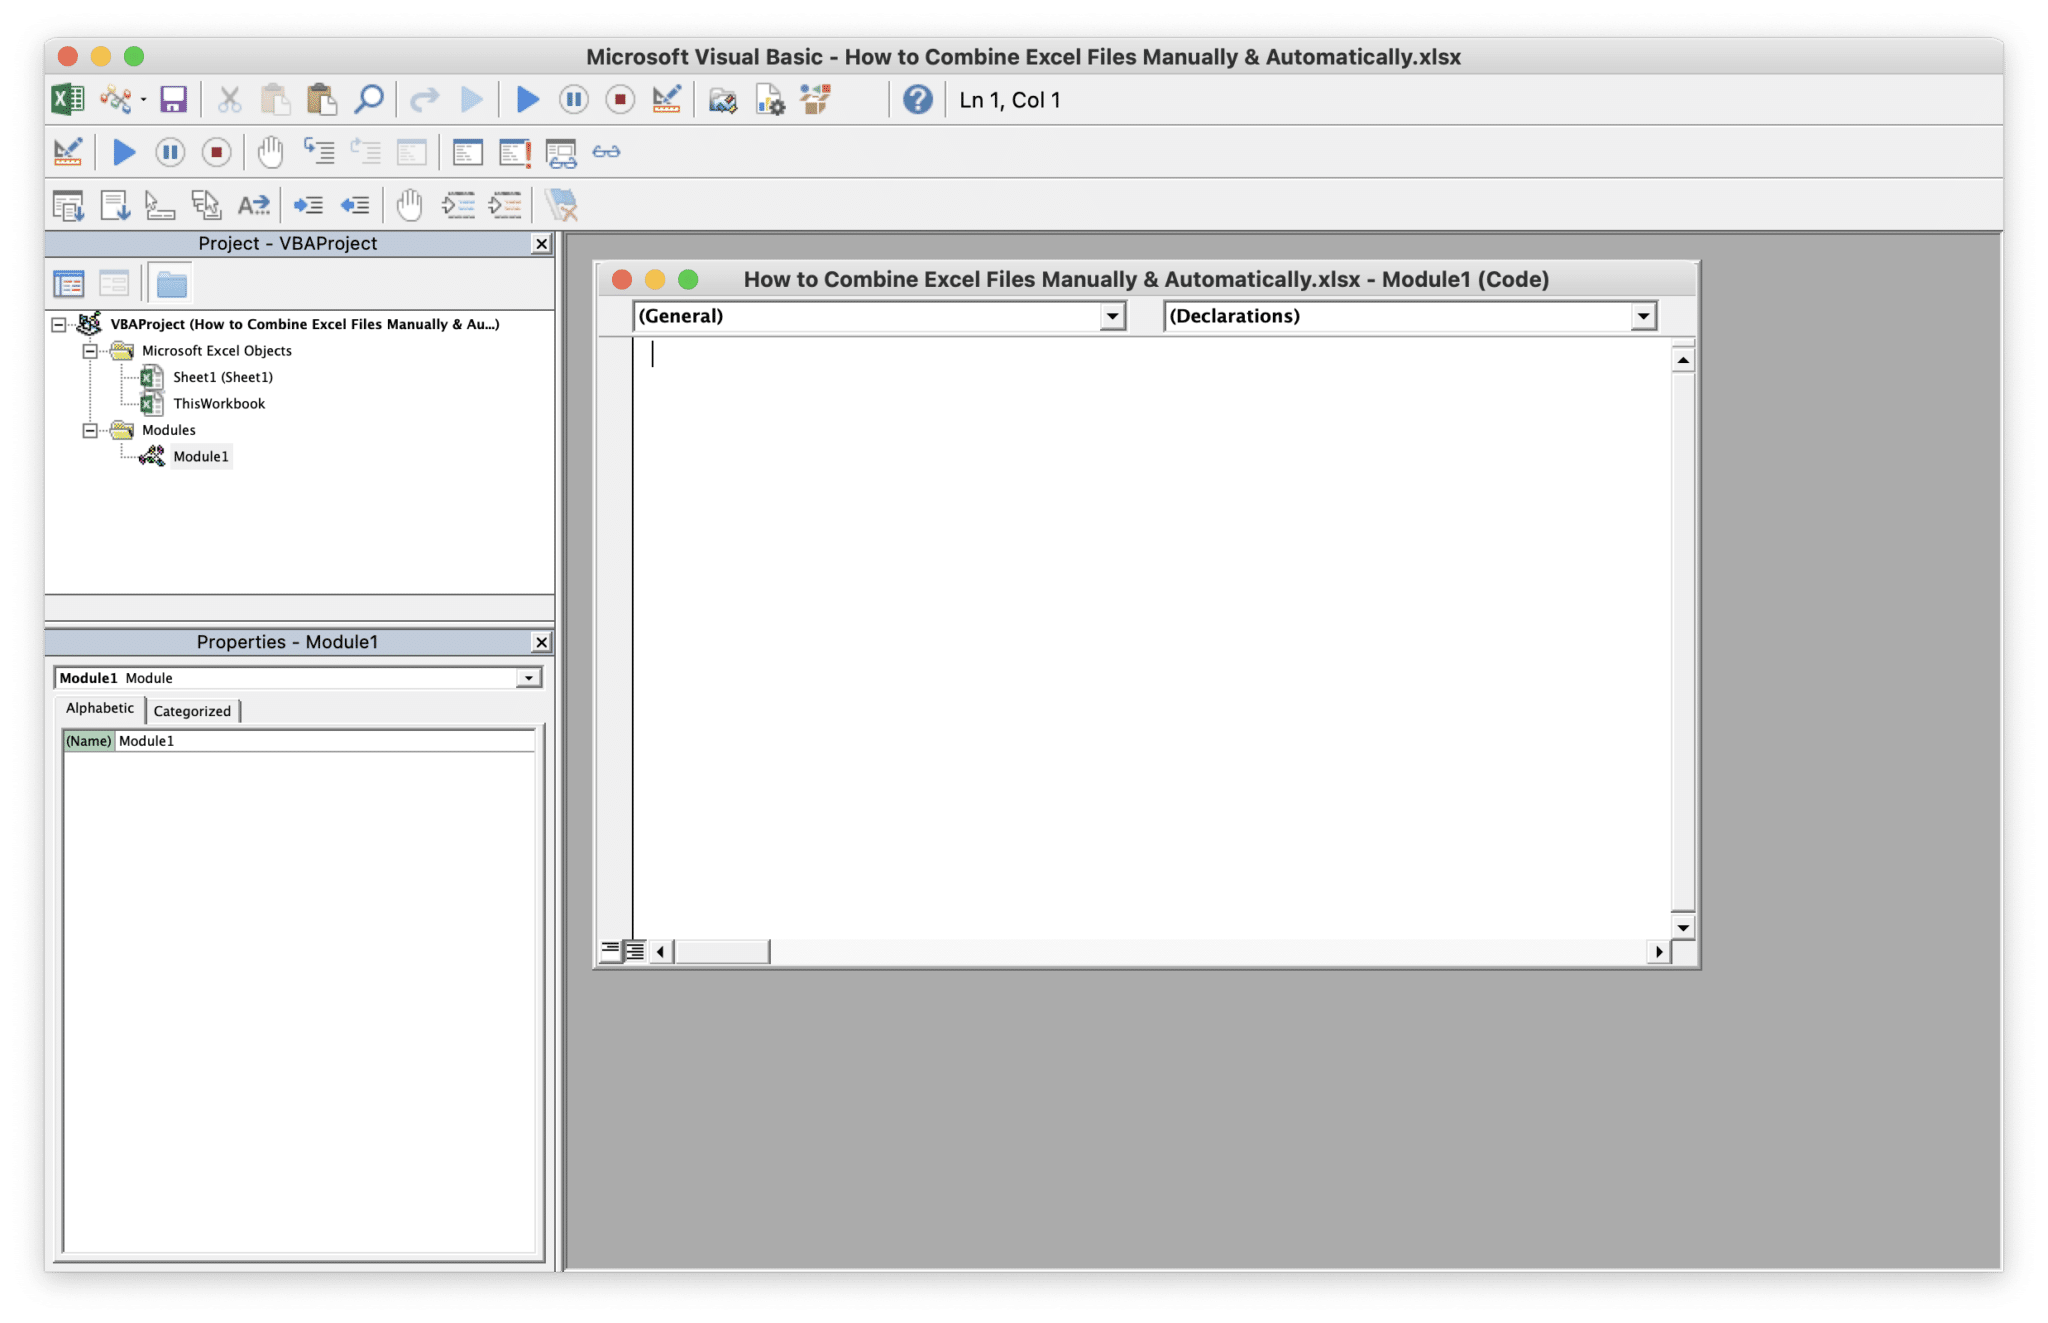
- Insert a new module: In the VBA editor, go to “Insert” and choose “Module.” This will create a new module for your macro.
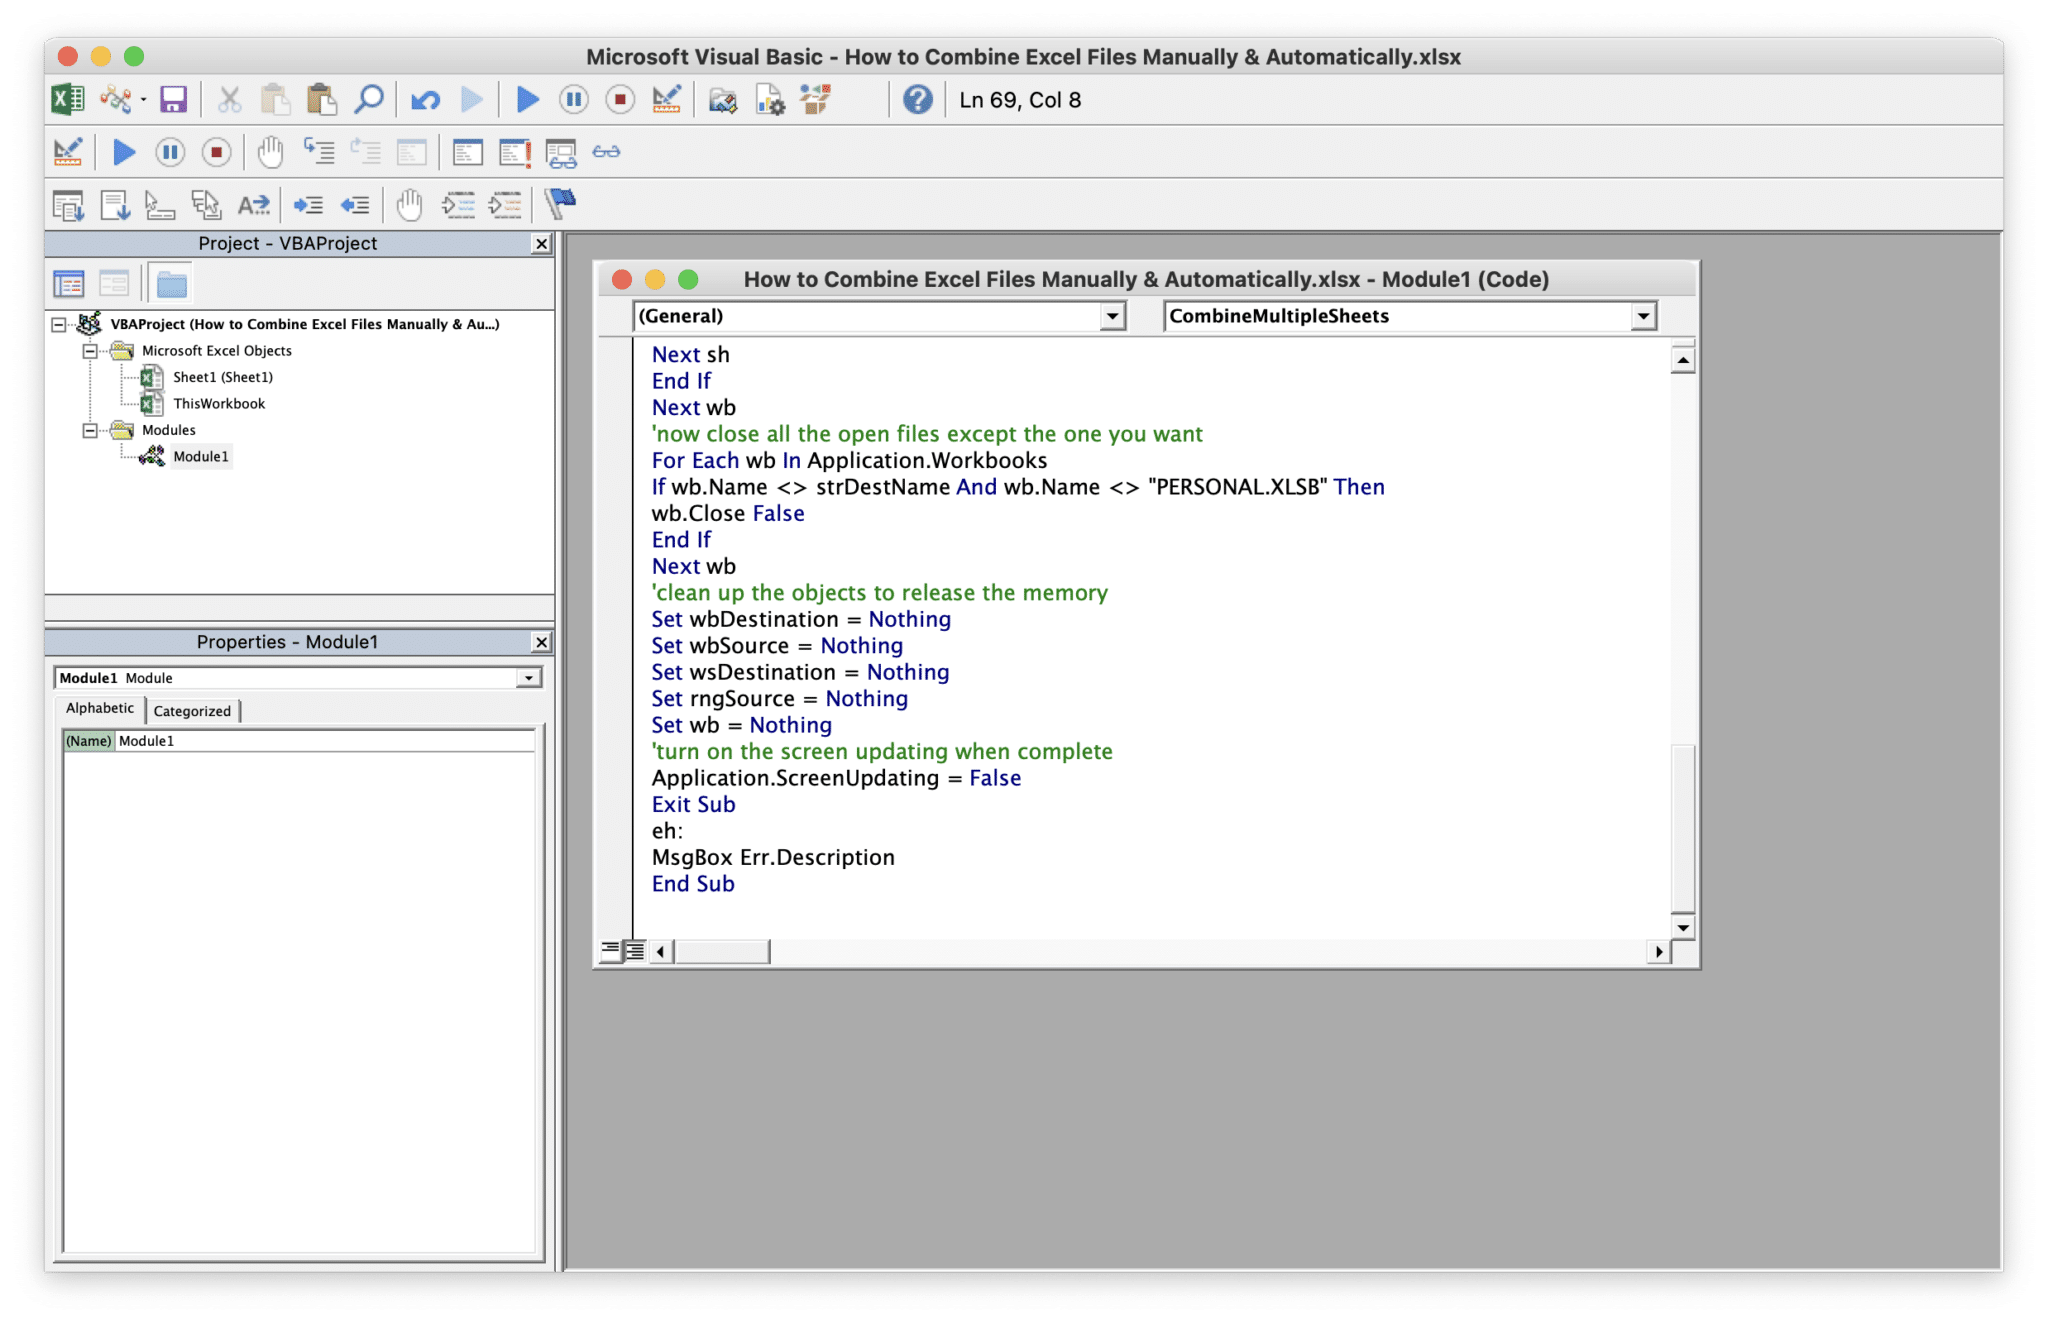
- Copy and paste the macro code: Copy and paste the appropriate macro code from the ones below or from trusted sources into the newly created module.
- Customize the macro code (if needed): Modify the macro code to fit your specific merging requirements. This may involve adjusting file paths, worksheet names, or merging options.
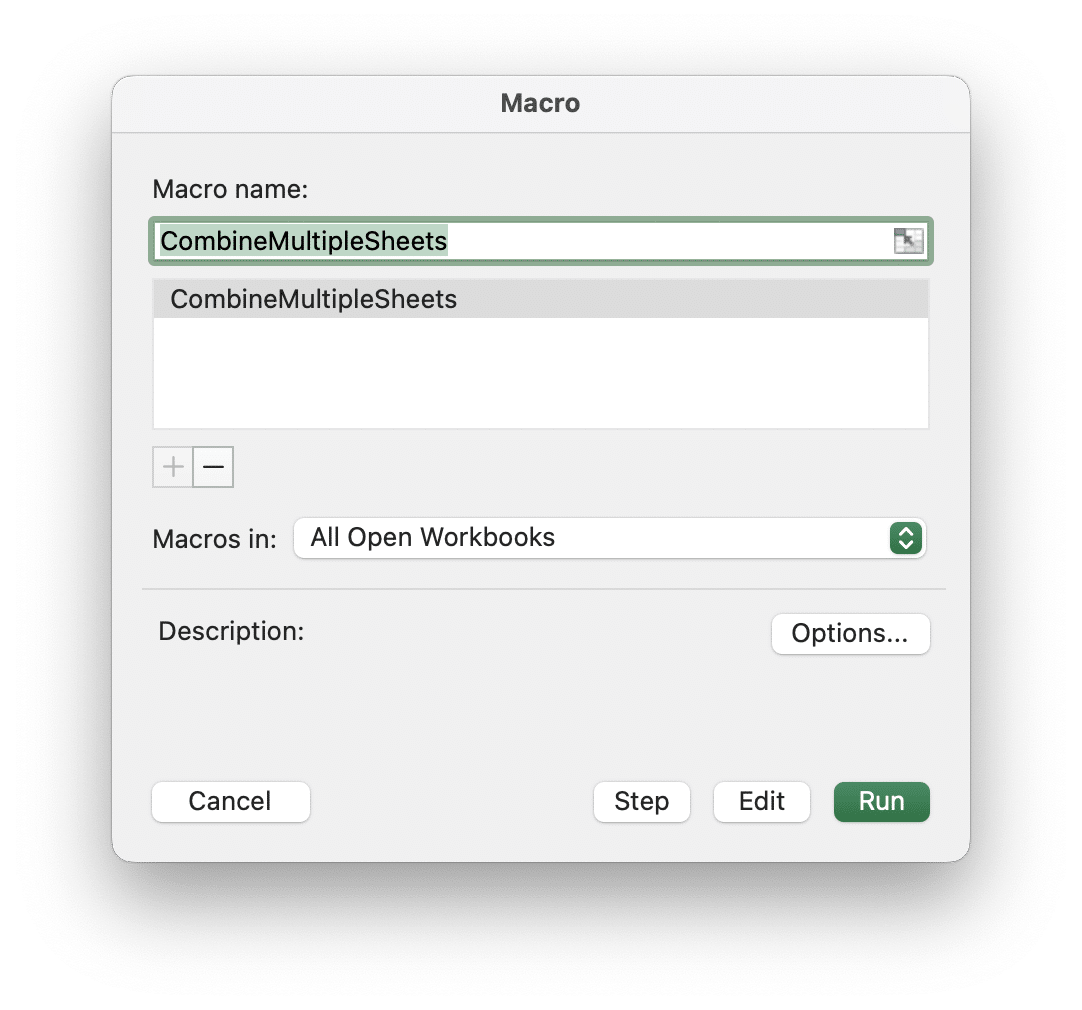
- Execute the macro: Close the VBA editor and run the macro. You can do this by going to the “Developer” tab (if not visible, enable it in Excel options), selecting “Macros,” choosing the macro you want to run, and clicking “Run.”

Excel macros provide a powerful way to automate the merging process and save time. By utilizing VBA, you can customize macros to suit your specific needs, making it a flexible solution for combining Excel files.
Combine Excel Files Into a New Workbook as Individual Sheets
Sub CombineMultipleFiles()
On Error GoTo eh
‘declare variables to hold the objects required
Dim wbDestination As Workbook
Dim wbSource As Workbook
Dim wsSource As Worksheet
Dim wb As Workbook
Dim sh As Worksheet
Dim strSheetName As String
Dim strDestName As String
‘turn off the screen updating to speed things up
Application.ScreenUpdating = False ‘first create new destination workbook
Set wbDestination = Workbooks.Add ‘get the name of the new workbook so you exclude it from the loop below
strDestName = wbDestination.Name ‘now loop through each of the workbooks open to get the data but exclude your new book or the Personal macro workbook
For Each wb In Application.Workbooks
If wb.Name < > strDestName And wb.Name < > “PERSONAL.XLSB”
Then
Set wbSource = wb
For Each sh In wbSource.Worksheets
sh.Copy After: = Workbooks(strDestName).Sheets(1)
Next sh
End If
Next wb
‘now close all the open files except the new file and the Personal macro workbook.
For Each wb In Application.Workbooks
If wb.Name < > strDestName And wb.Name < > “PERSONAL.XLSB”
Then
wb.Close False
End If
Next wb‘remove sheet one from the destination workbook
Application.DisplayAlerts = False
Sheets(“Sheet1”).Delete
Application.DisplayAlerts = True ‘clean up the objects to release the memory
Set wbDestination = Nothing
Set wbSource = Nothing
Set wsSource = Nothing
Set wb = Nothing ‘turn on the screen updating when complete
Application.ScreenUpdating = False
Exit Sub
eh:
MsgBox Err.Description
End Sub
Combine Excel Files Into a Single Sheet in a New Workbook
Sub CombineMultipleSheets()
On Error GoTo eh
‘declare variables to hold the objects required
Dim wbDestination As Workbook
Dim wbSource As Workbook
Dim wsDestination As Worksheet
Dim wb As Workbook
Dim sh As Worksheet
Dim strSheetName As String
Dim strDestName As String
Dim iRws As Integer
Dim iCols As Integer
Dim totRws As Integer
Dim strEndRng As String
Dim rngSource As Range
‘turn off the screen updating to speed things up
Application.ScreenUpdating = False
‘first create new destination workbook
Set wbDestination = Workbooks.Add
‘get the name of the new workbook so you exclude it from the loop below
strDestName = wbDestination.Name
‘now loop through each of the workbooks open to get the data
For Each wb In Application.Workbooks
If wb.Name <> strDestName And wb.Name <> “PERSONAL.XLSB” Then
Set wbSource = wb
For Each sh In wbSource.Worksheets
‘get the number of rows and columns in the sheet
sh.Activate
ActiveSheet.Cells.SpecialCells(xlCellTypeLastCell).Activate
iRws = ActiveCell.Row
iCols = ActiveCell.Column
‘set the range of the last cell in the sheet
strEndRng = sh.Cells(iRws, iCols).Address
‘set the source range to copy
Set rngSource = sh.Range(“A1:” & strEndRng)
‘find the last row in the destination sheet
wbDestination.Activate
Set wsDestination = ActiveSheet
wsDestination.Cells.SpecialCells(xlCellTypeLastCell).Select
totRws = ActiveCell.Row
‘check if there are enough rows to paste the data
If totRws + rngSource.Rows.Count > wsDestination.Rows.Count Then
MsgBox “There are not enough rows to place the data in the Consolidation worksheet.”
GoTo eh
End If
‘add a row to paste on the next row down
If totRws <> 1 Then totRws = totRws + 1
rngSource.Copy Destination:=wsDestination.Range(“A” & totRws)
Next sh
End If
Next wb
‘now close all the open files except the one you want
For Each wb In Application.Workbooks
If wb.Name <> strDestName And wb.Name <> “PERSONAL.XLSB” Then
wb.Close False
End If
Next wb
‘clean up the objects to release the memory
Set wbDestination = Nothing
Set wbSource = Nothing
Set wsDestination = Nothing
Set rngSource = Nothing
Set wb = Nothing
‘turn on the screen updating when complete
Application.ScreenUpdating = False
Exit Sub
eh:
MsgBox Err.Description
End Sub
Combine Excel Files Into a Single Worksheet in an Active Workbook
Sub CombineMultipleSheetsToExisting()
On Error GoTo eh
‘declare variables to hold the objects required
Dim wbDestination As Workbook
Dim wbSource As Workbook
Dim wsDestination As Worksheet
Dim wb As Workbook
Dim sh As Worksheet
Dim strSheetName As String
Dim strDestName As String
Dim iRws As Integer
Dim iCols As Integer
Dim totRws As Integer
Dim rngEnd As String
Dim rngSource As Range
‘set the active workbook object for the destination book
Set wbDestination = ActiveWorkbook
‘get the name of the active file
strDestName = wbDestination.Name
‘turn off the screen updating to speed things up
Application.ScreenUpdating = False
‘first create new destination worksheet in your Active workbook
Application.DisplayAlerts = False
‘resume next error in case sheet doesn’t exist
On Error Resume Next
ActiveWorkbook.Sheets(“Consolidation”).Delete
‘reset error trap to go to the error trap at the end
On Error GoTo eh
Application.DisplayAlerts = True
‘add a new sheet to the workbook
With ActiveWorkbook
Set wsDestination = .Sheets.Add(After:=.Sheets(.Sheets.Count))
wsDestination.Name = “Consolidation”
End With
‘now loop through each of the workbooks open to get the data
For Each wb In Application.Workbooks
If wb.Name <> strDestName And wb.Name <> “PERSONAL.XLSB” Then
Set wbSource = wb
For Each sh In wbSource.Worksheets
‘get the number of rows in the sheet
sh.Activate
ActiveSheet.Cells.SpecialCells(xlCellTypeLastCell).Activate
iRws = ActiveCell.Row
iCols = ActiveCell.Column
rngEnd = sh.Cells(iRws, iCols).Address
Set rngSource = sh.Range(“A1:” & rngEnd)
‘find the last row in the destination sheet
wbDestination.Activate
Set wsDestination = ActiveSheet
wsDestination.Cells.SpecialCells(xlCellTypeLastCell).Select
totRws = ActiveCell.Row
‘check if there are enough rows to paste the data
If totRws + rngSource.Rows.Count > wsDestination.Rows.Count Then
MsgBox “There are not enough rows to place the data in the Consolidation worksheet.”
GoTo eh
End If
‘add a row to paste on the next row down if you are not in row 1
If totRws <> 1 Then totRws = totRws + 1
rngSource.Copy Destination:=wsDestination.Range(“A” & totRws)
Next sh
End If
Next wb
‘now close all the open files except the one you want
For Each wb In Application.Workbooks
If wb.Name <> strDestName And wb.Name <> “PERSONAL.XLSB” Then
wb.Close False
End If
Next wb‘clean up the objects to release the memory
Set wbDestination = Nothing
Set wbSource = Nothing
Set wsDestination = Nothing
Set rngSource = Nothing
Set wb = Nothing
‘turn on the screen updating when complete
Application.ScreenUpdating = False
Exit Sub
eh:
MsgBox Err.Description
End Sub
Collaborative Data Merging in Shared Workbooks
Collaboration plays a crucial role in data merging when multiple users are involved. Excel’s shared workbook feature allows multiple users to work on the same file simultaneously. Here’s how you can merge versions of a shared Excel workbook:
- Enable sharing: Open the Excel file you want to share and go to the “Review” tab. Click on “Share Workbook” and select the “Allow changes by more than one user at the same time” checkbox. Alternatively, you can click the “Share” button at the top right.
- Highlight changes: Go to the “Review” tab, click on “Track Changes,” and select “Highlight Changes.” Alternatively, go to the Tools menu > Track Changes > Highlight Changes. Configure the settings to track changes for the desired range of cells and choose how changes should be highlighted.

- Merge versions: When multiple users make changes to the shared workbook, Excel will highlight the modified cells based on the chosen settings. Review the highlighted changes and accept or reject them as needed.


Excel’s shared workbook feature simplifies the collaborative merging process by allowing multiple users to work on the same file simultaneously. By enabling change tracking and highlighting modifications, you can easily merge versions of a shared Excel workbook.
How to Combine Excel Files with Co-Authoring?
In recent versions of Excel, co-authoring has replaced the shared workbook feature, providing enhanced collaboration capabilities. Co-authoring allows multiple users to edit the same Excel file simultaneously, and changes are synchronized in real-time. Here’s how you can combine Excel files using co-authoring:
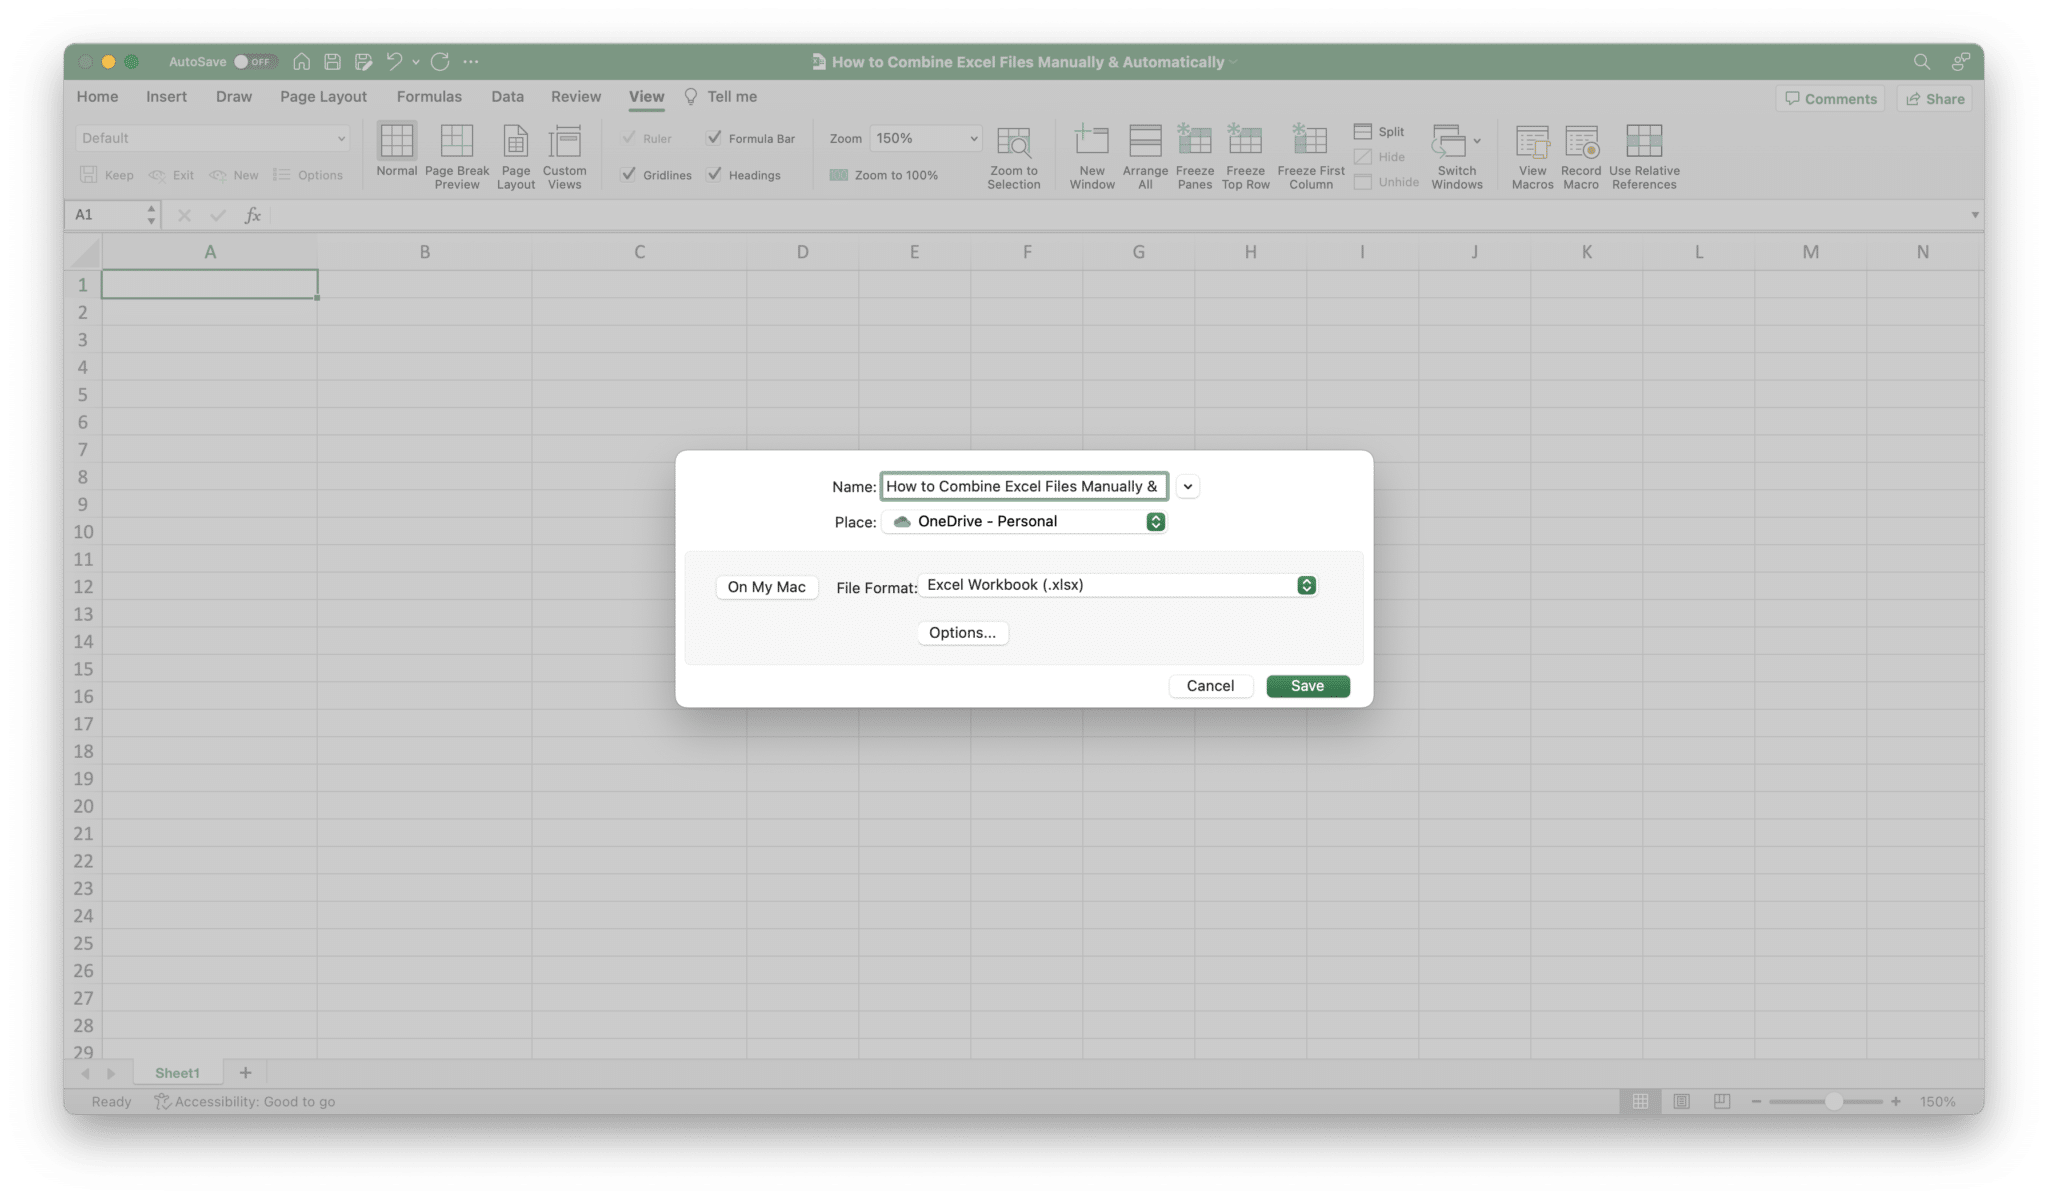
- Store the file in a shared location: Save the Excel file in a shared folder or a cloud storage service like OneDrive, Google Drive, or SharePoint.
- Invite collaborators: Share the file with the intended collaborators by providing them with the necessary access permissions. Each collaborator can open the file simultaneously.
- Simultaneous editing: Collaborators can make edits to the file, and their changes will be synchronized in real-time. Each user’s edits are color-coded, allowing for easy identification.
- Merge changes: Review the changes made by each collaborator and manually incorporate them into the final version of the file.
Co-authoring in Excel enables seamless collaboration and simplifies the merging process by eliminating the need for manual merging. It allows multiple users to simultaneously work on the same Excel file, ensuring real-time synchronization of changes. By reviewing and incorporating the changes made by each collaborator, you can easily merge the multiple versions into a final consolidated file.
Conclusion
Combining multiple Excel files into one central file is a common task for data management and analysis. In this comprehensive guide, we explored various methods and techniques to help you merge Excel files efficiently. We discussed the manual method of copy and paste, Excel’s built-in functions and features like CONCATENATE, VLOOKUP, HLOOKUP, INDEX, MATCH, and Power Query, as well as Excel macros, shared workbooks, and co-authoring. Each method offers its own benefits and is suitable for different merging scenarios.
By following the step-by-step instructions and best practices provided in this guide, you can streamline your workflow and simplify the process of combining Excel files. Now, armed with this knowledge, you can confidently merge multiple Excel files and unlock the full potential of your data analysis. Happy merging!
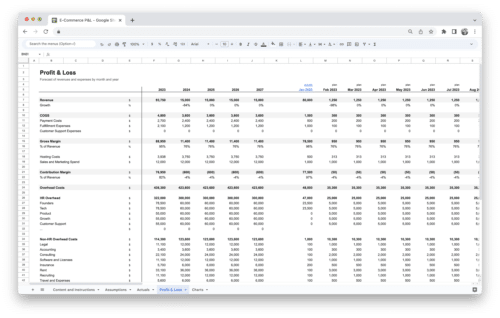
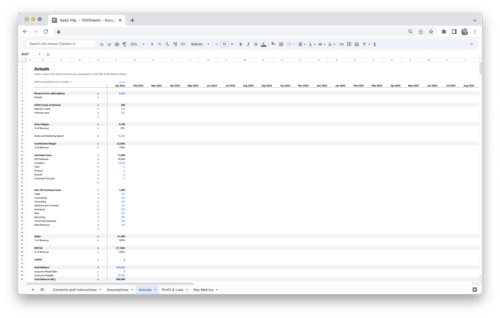
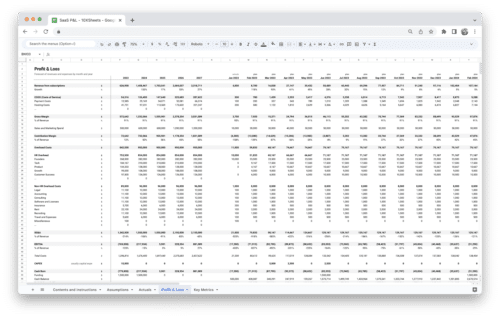
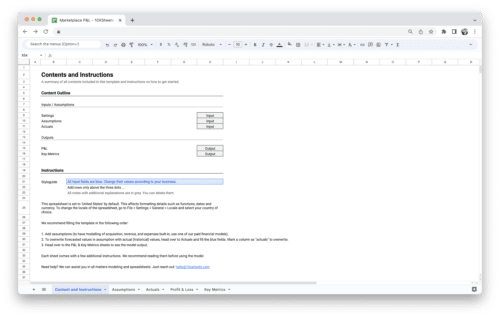
Get Started With a Prebuilt Template!
Looking to streamline your business financial modeling process with a prebuilt customizable template? Say goodbye to the hassle of building a financial model from scratch and get started right away with one of our premium templates.
- Save time with no need to create a financial model from scratch.
- Reduce errors with prebuilt formulas and calculations.
- Customize to your needs by adding/deleting sections and adjusting formulas.
- Automatically calculate key metrics for valuable insights.
- Make informed decisions about your strategy and goals with a clear picture of your business performance and financial health.